
Configuring GitHub with PyCharm Community Edition
Written by Jaganadh Gopinadhan1) Download and Install Pycharm Community Edition from https://www.jetbrains.com/pycharm/download/
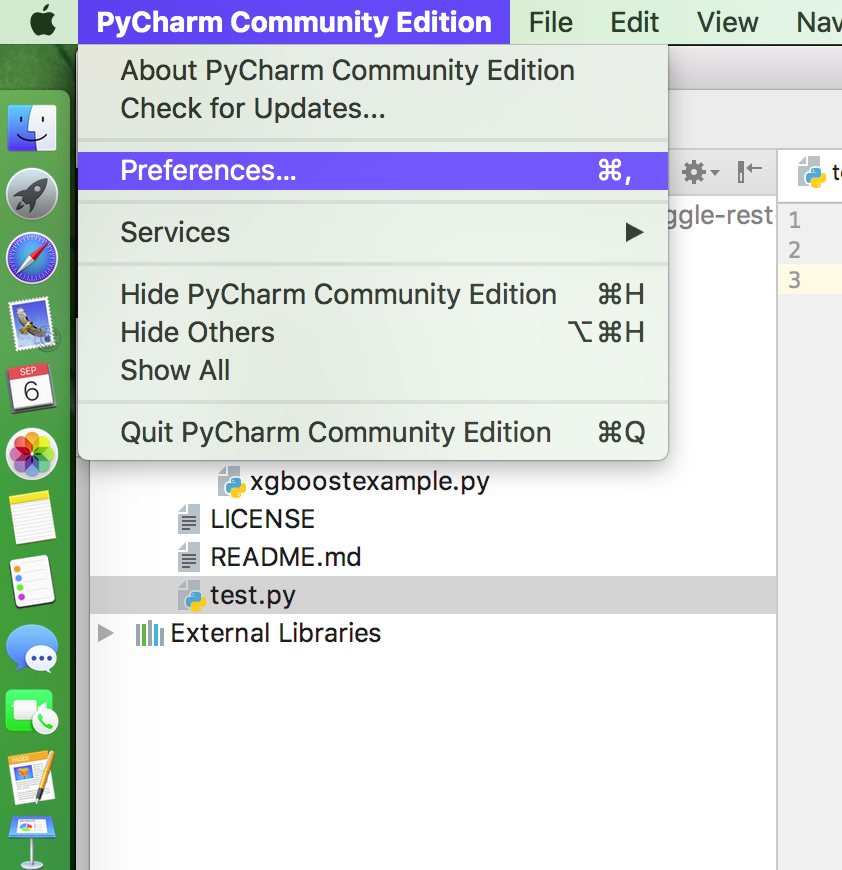
2) Open Pycharm and go to “Preferences”
2) Go to “Version Control” –> “GitHub” . Enter your github details.
If you are using enterprice private github provide the URL for the same; like mycrop.devel.github.com .
You can select the auth type as “Password” or “Token”.If you select the password you can etenetr your GitHub username and password.
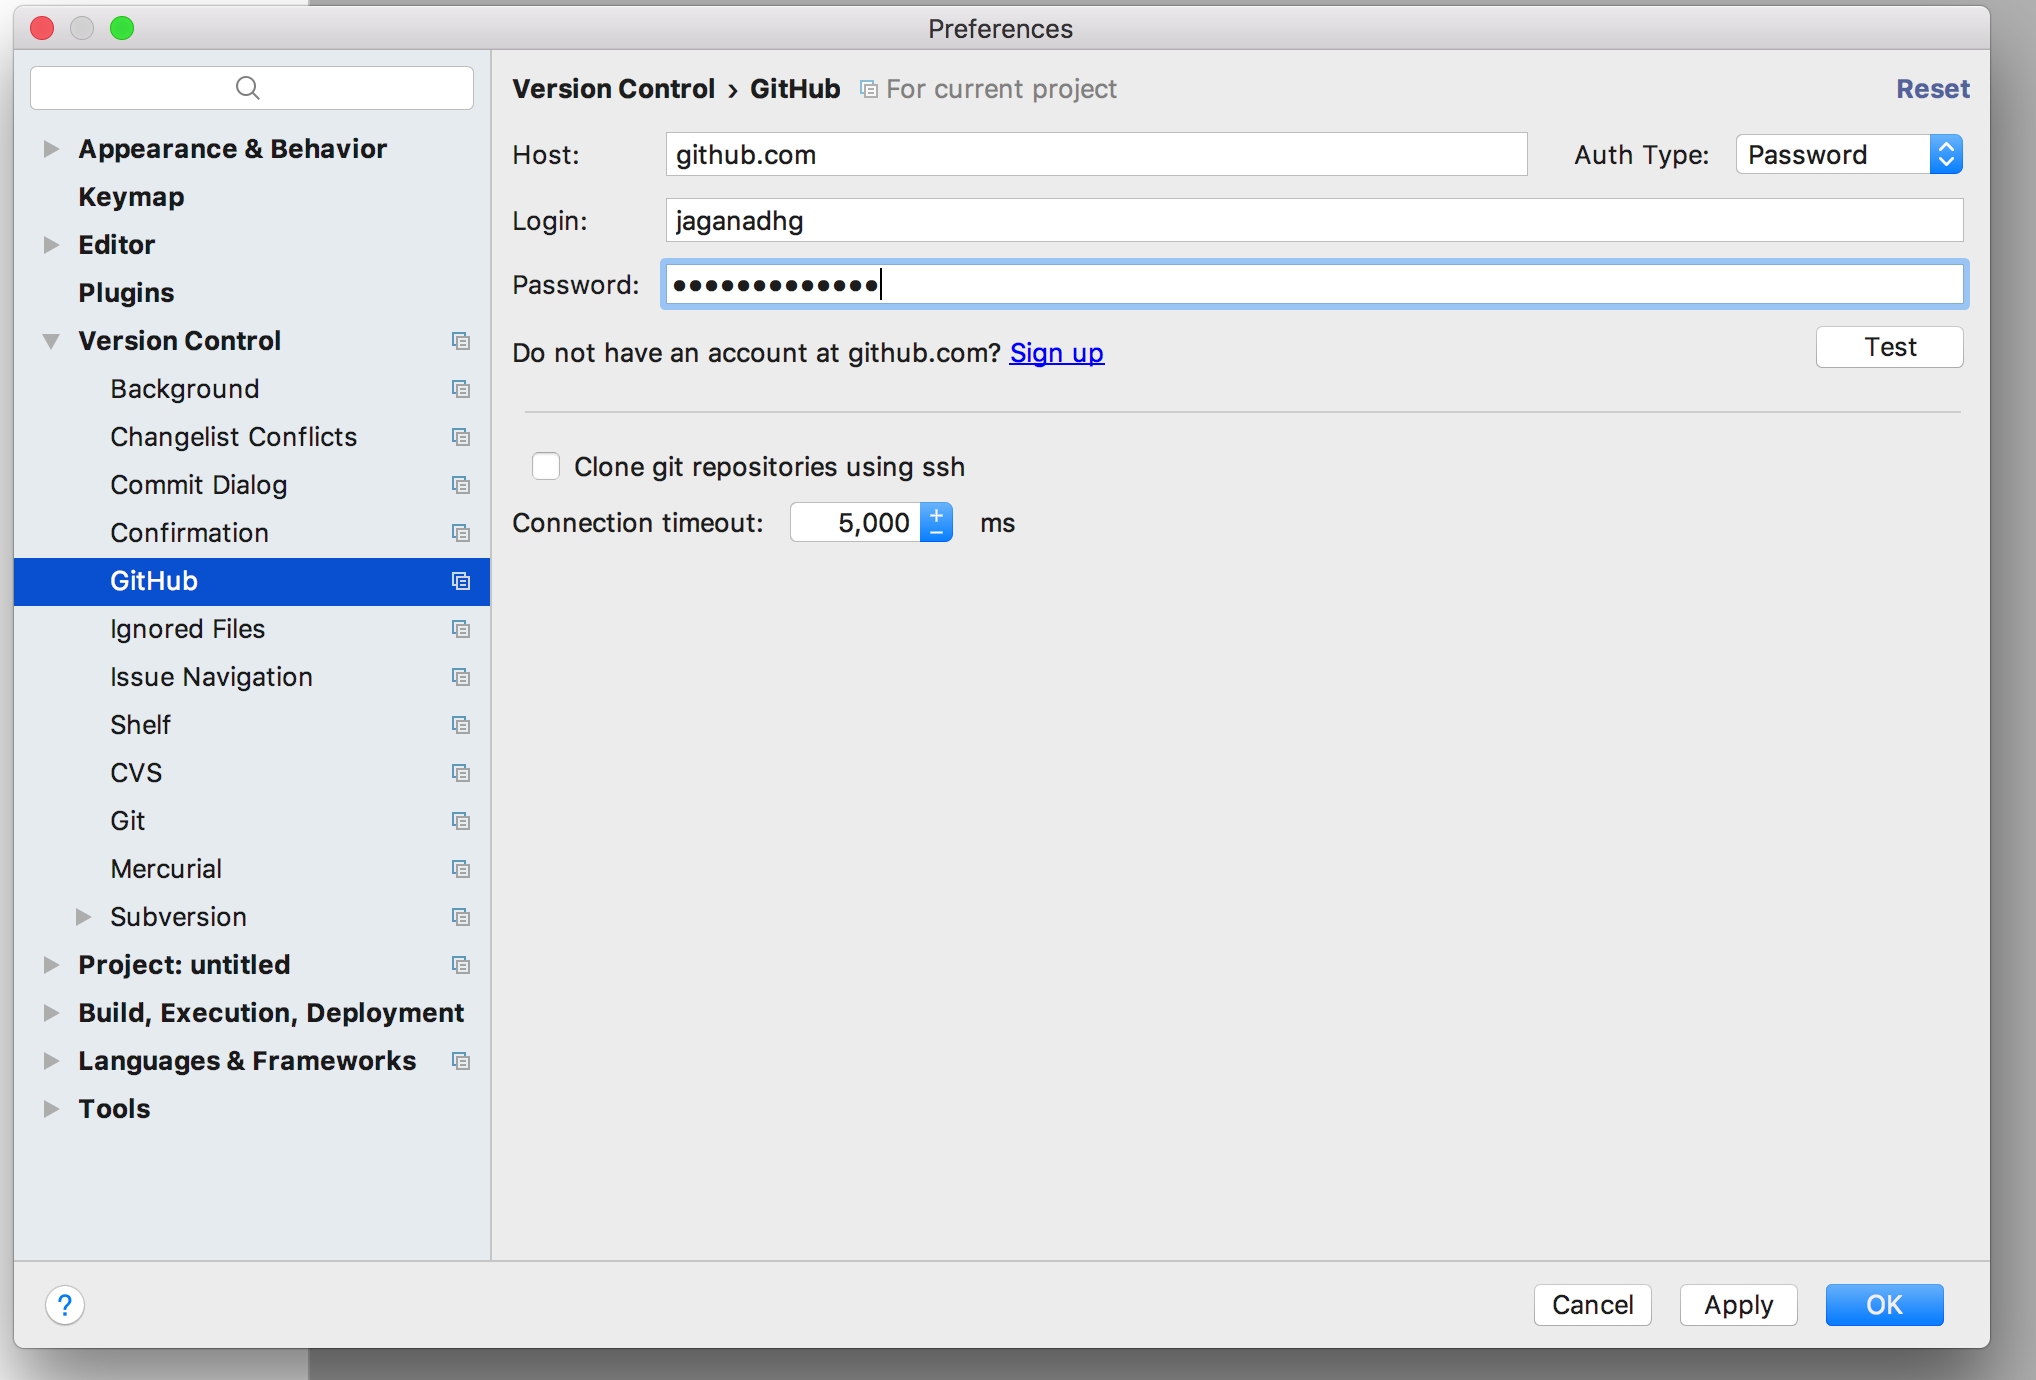
Click on the “Test” button. If the URL, username and password is correct you will see the following screen. If it is not please check your URL/usernamw/password.
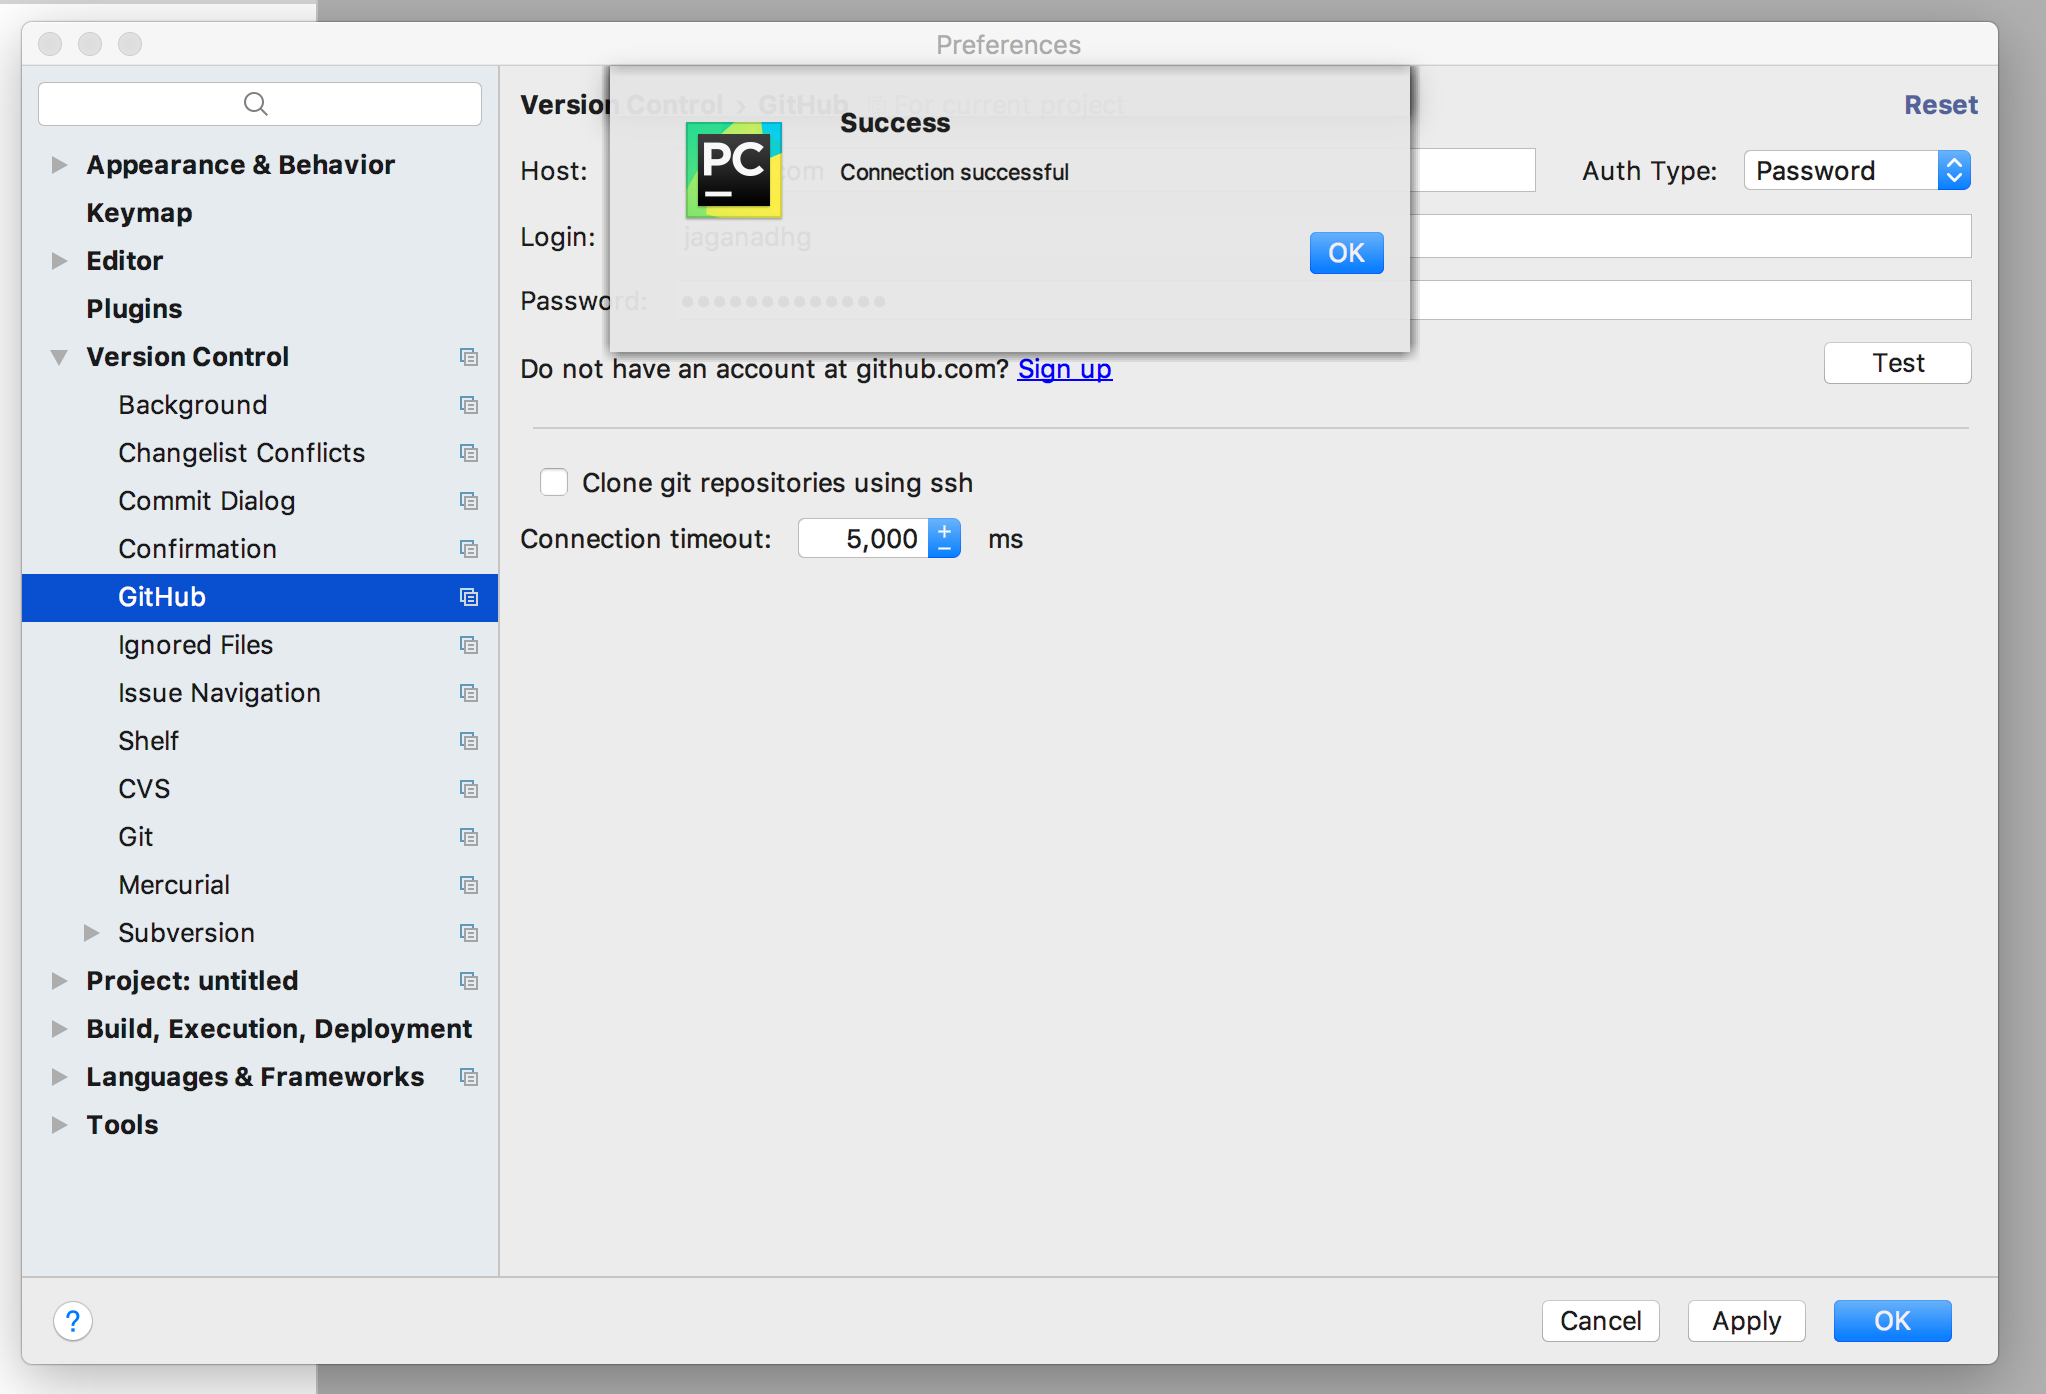
3) Click “Ok” the pop-up and bottom.
4) Go to “Version Control” –> “Git” .
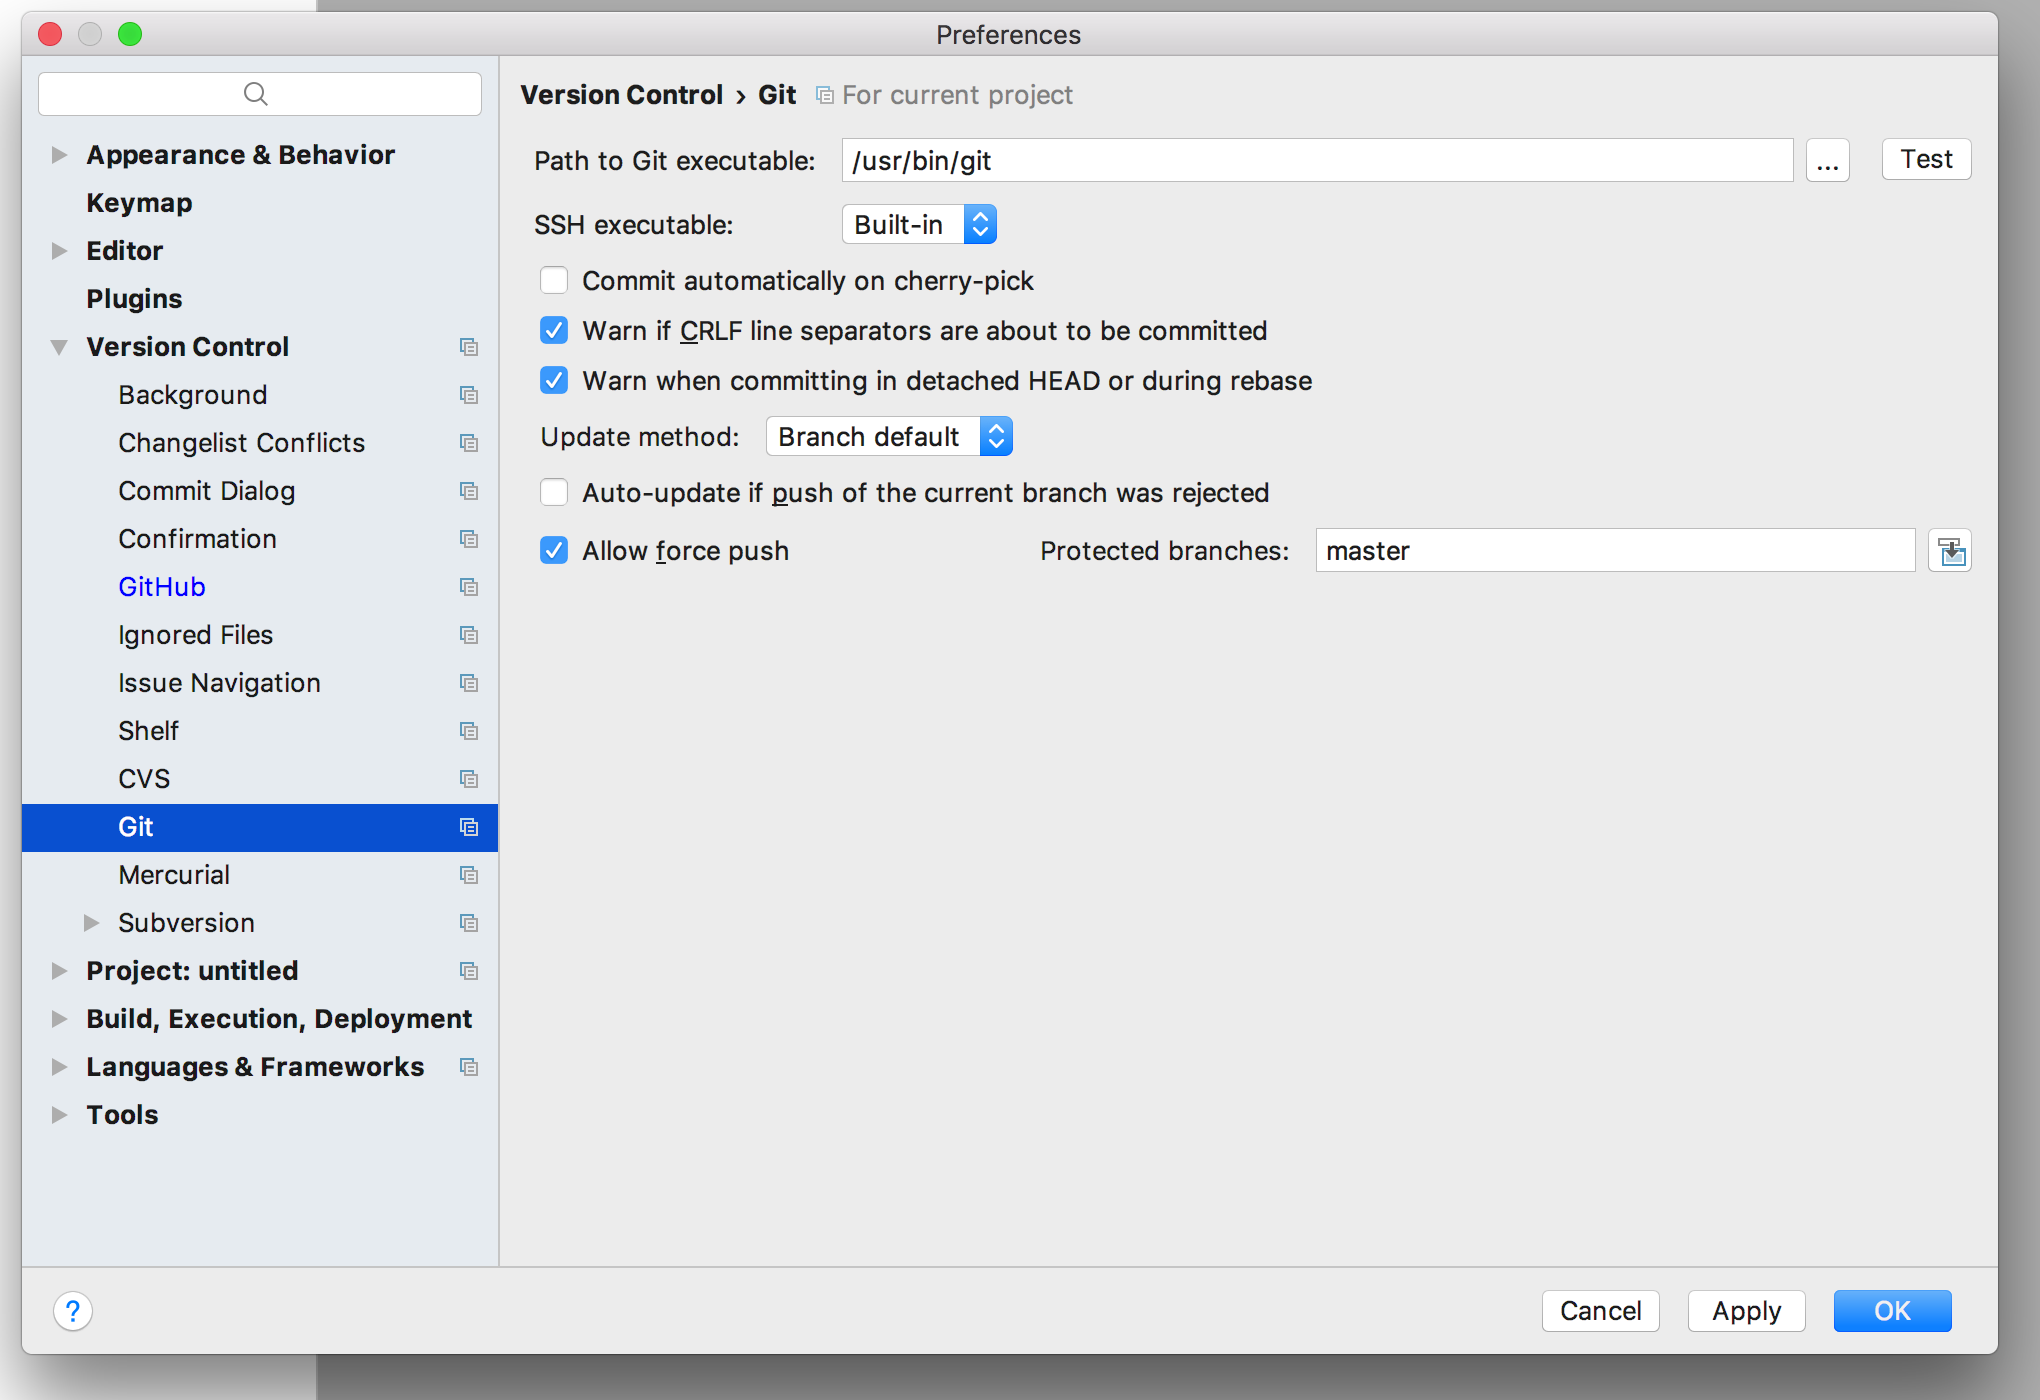
Click on the “…” near the “Test” button. It will open a new pop-up window. If you are in Windows browse to “Program Files (x86)” in the case of 64 bit systems else “Program Files”. Go to “GitHub”–> “bin” and select “git.exe” and click “Open”
In systems like Ubuntu/CentOS/Fedora or MacOsX this step is not required.
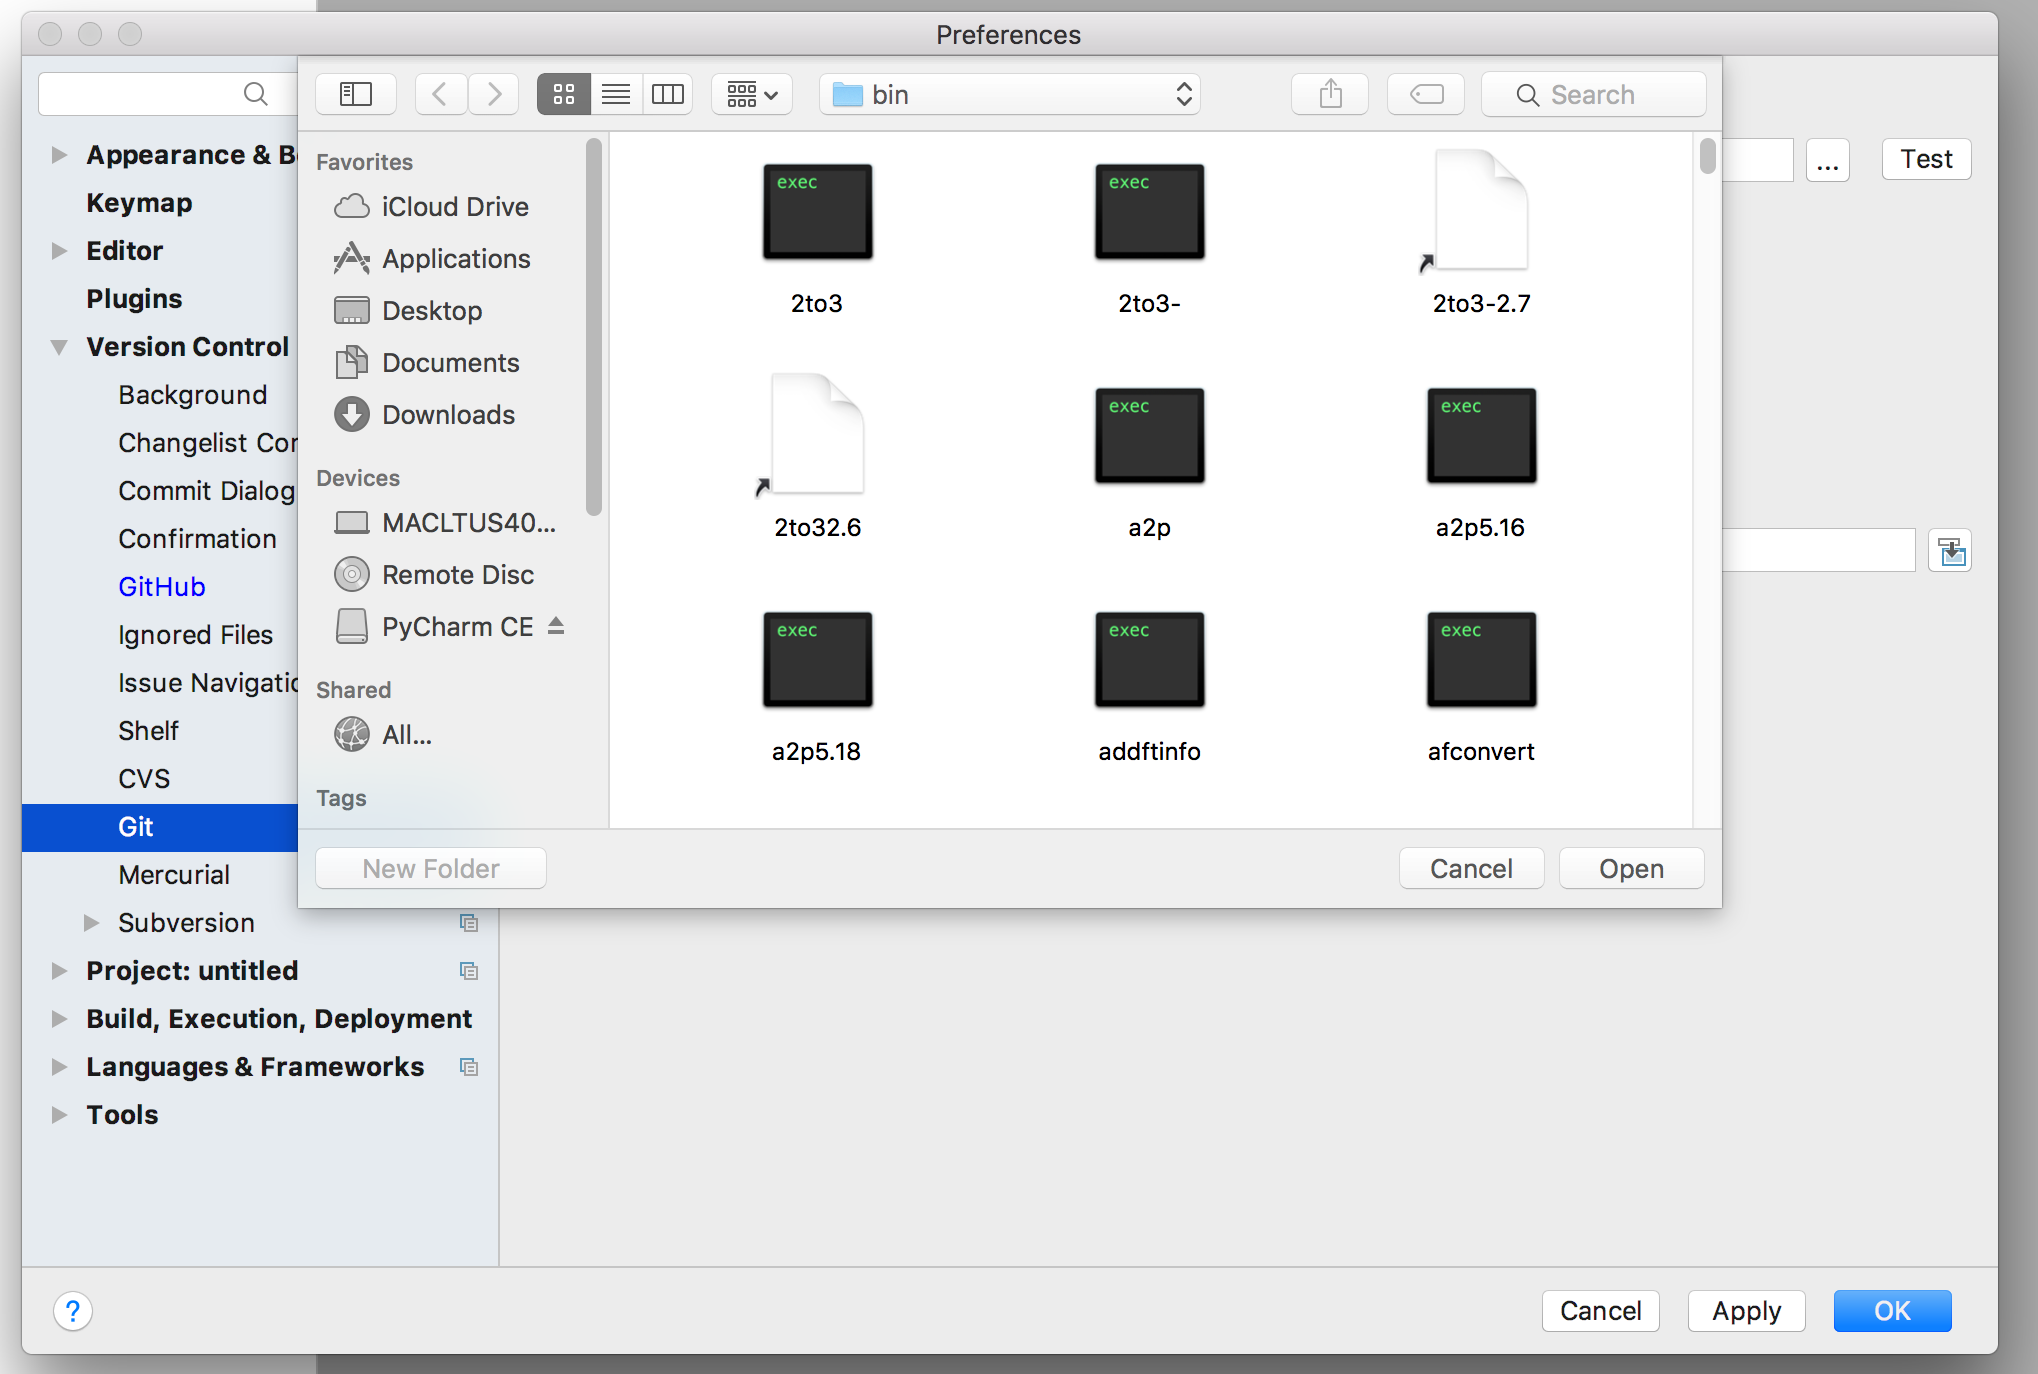
5) Click on “Test” button. If the correct version of the “git.exe” file is selected it will show test successful message. Else you might not have selected the right git.exe file.
6) Click on the “Apply” and then “Ok” button. This will configure the “GitHub” with PyCharm.
Checkingout Code and Commiting Code
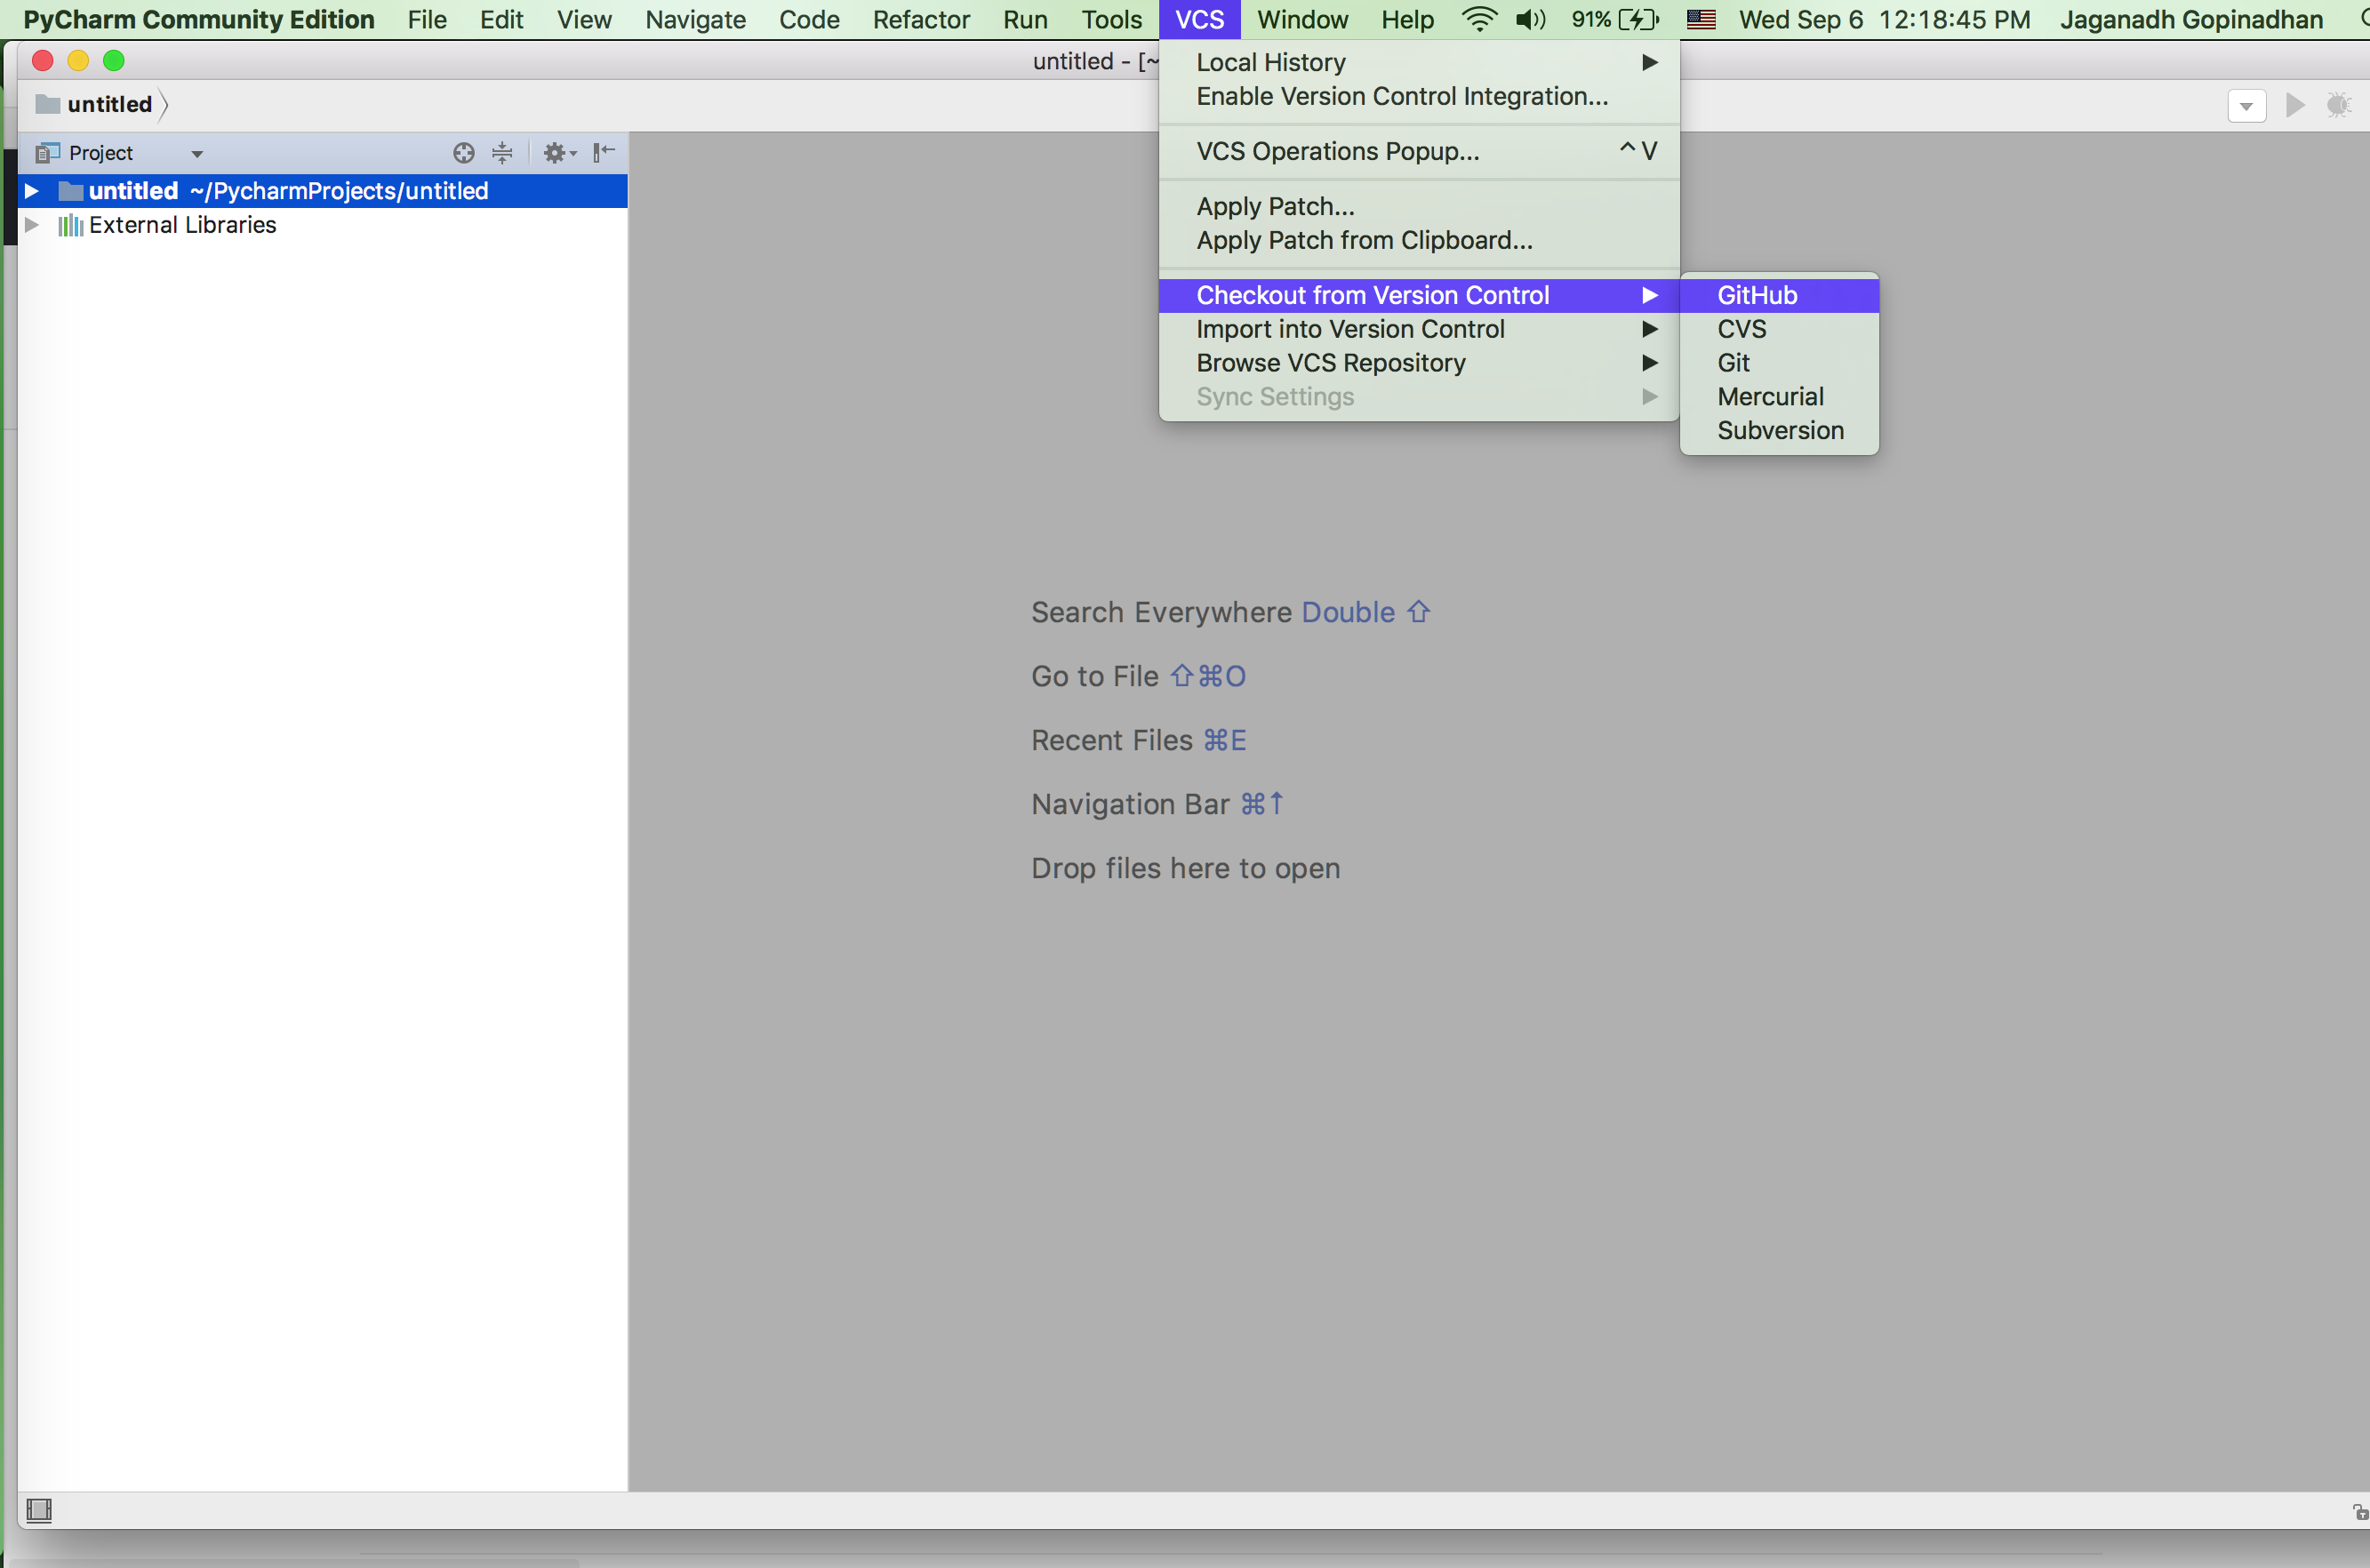
1) From the “VCS” menu go to “Checkout from Version Control” –> “GitHub”
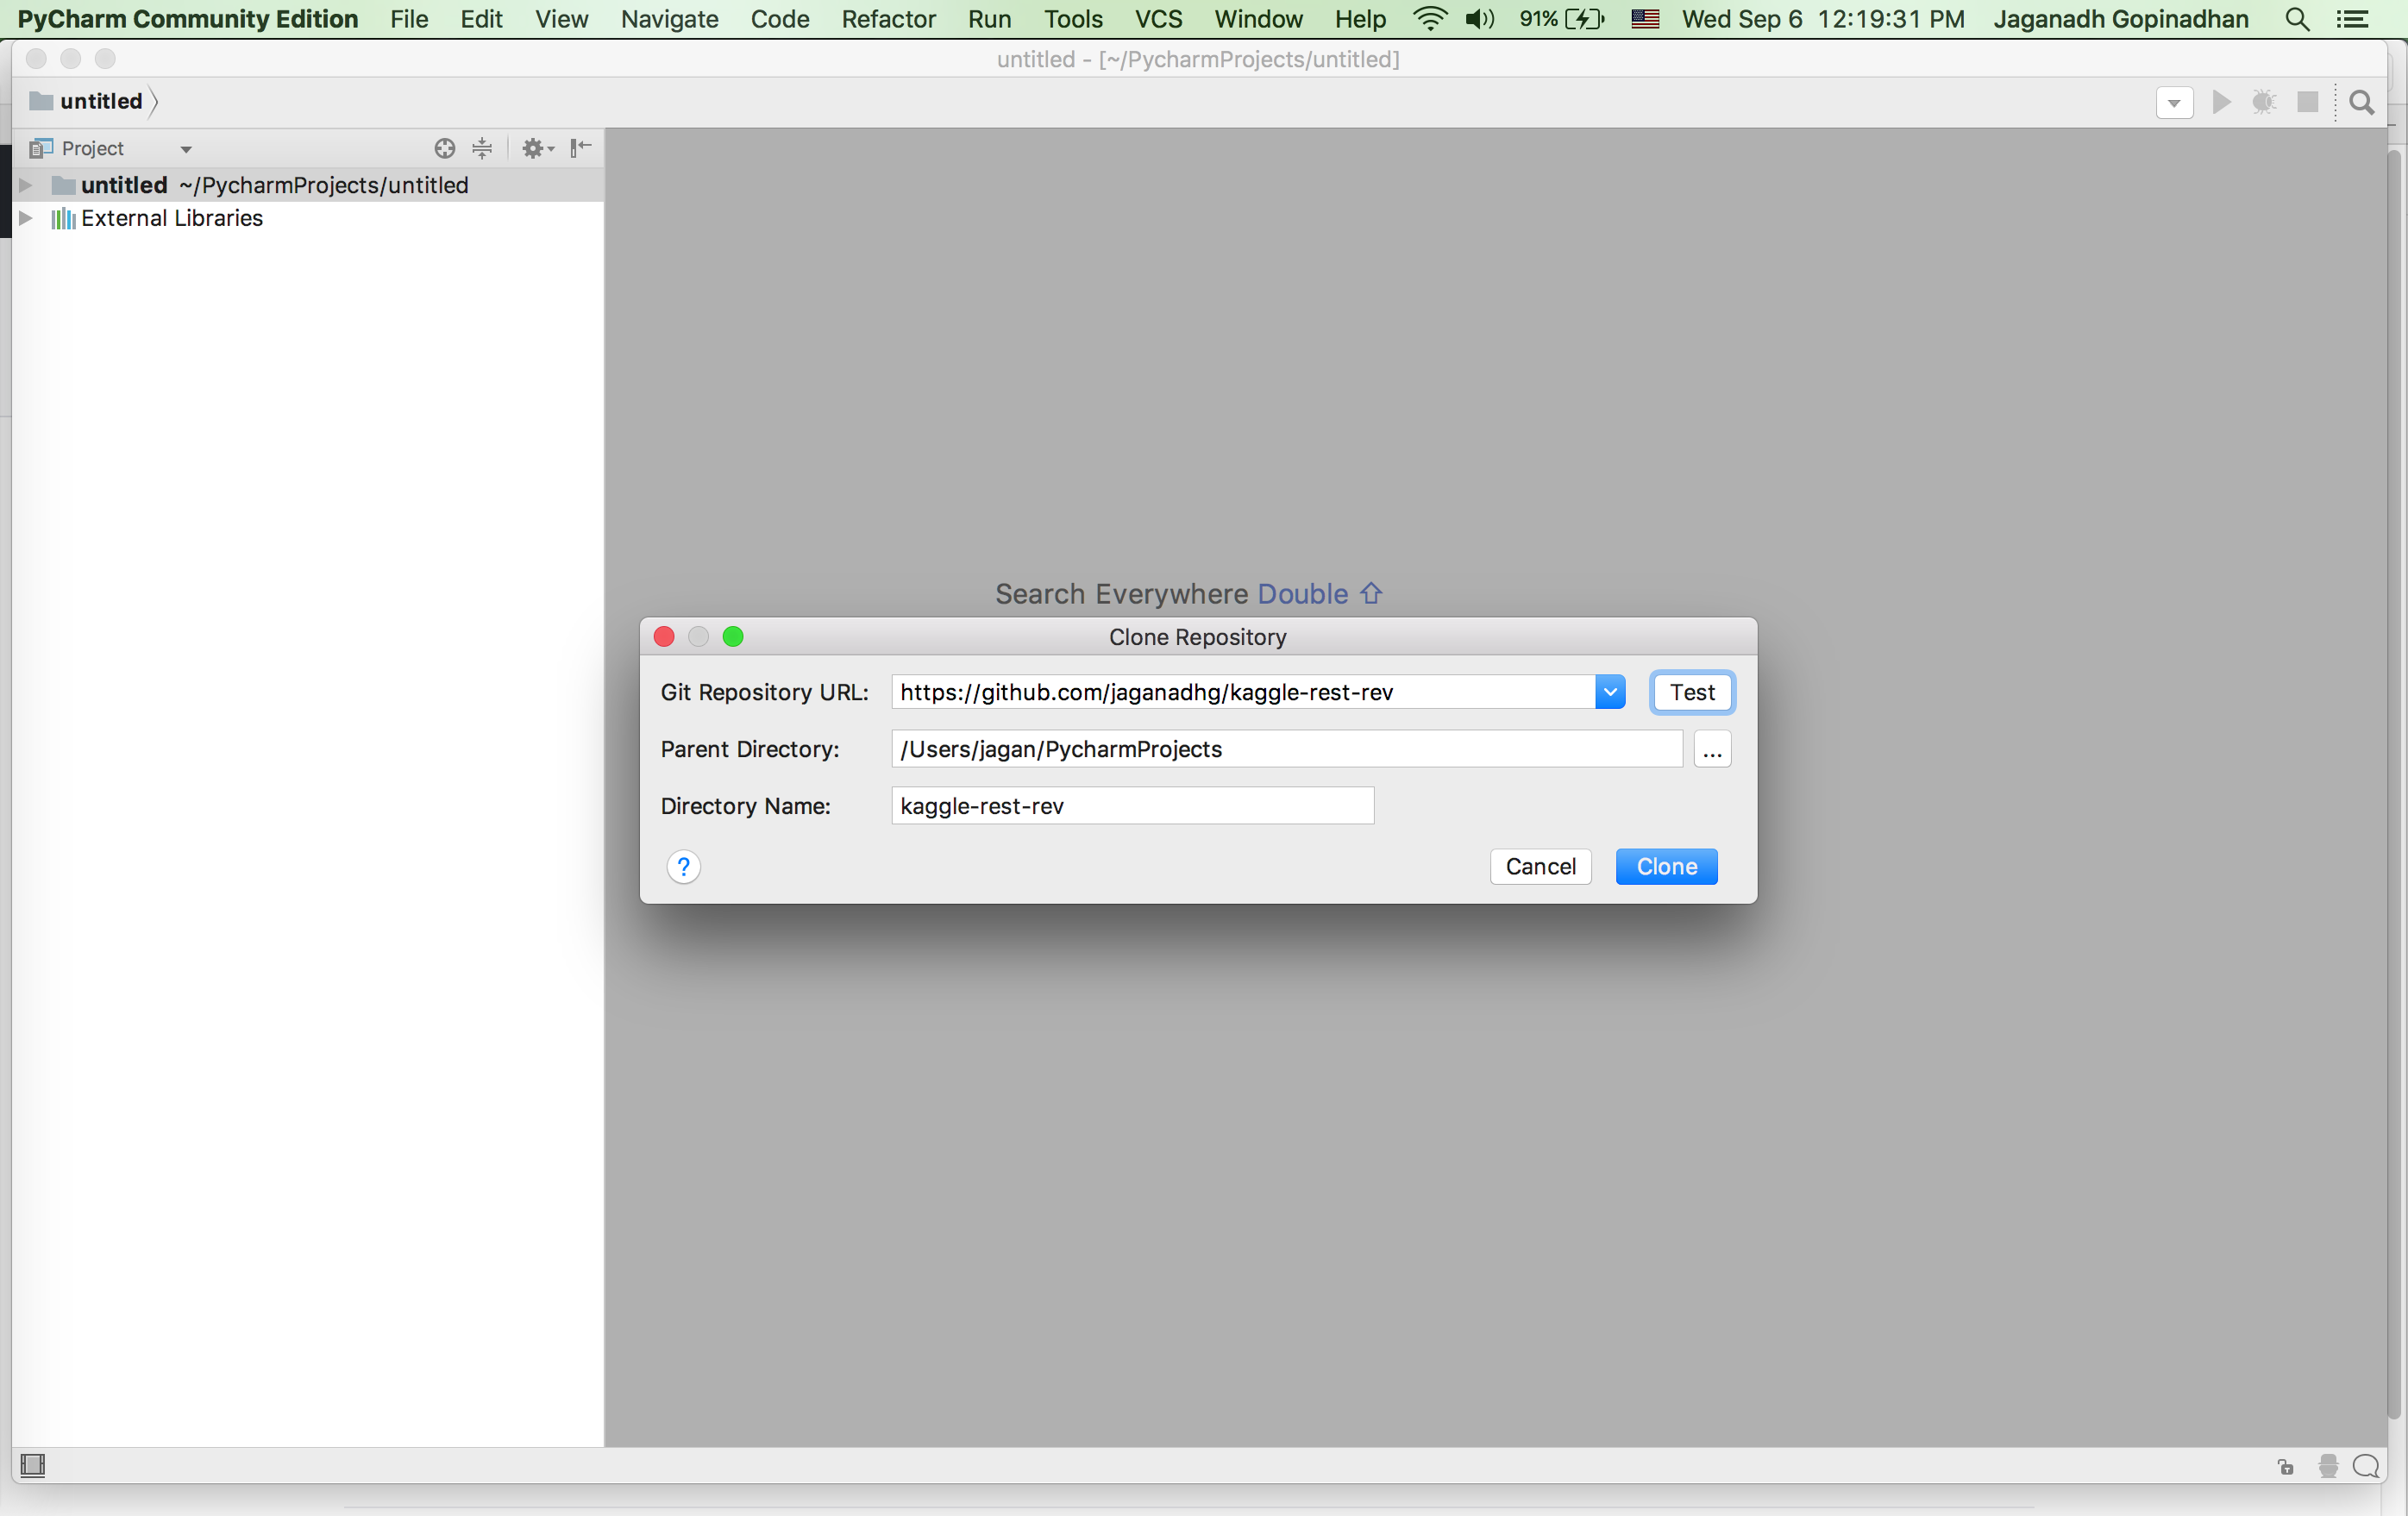
2) It will open a new pop-up window. Enter the complete remote repository URL in the “Git Repository URL:”
Enter or Browse to a dierctory where you would like to store the cloned repo in the “Parent Directory”
You can pride a dierctory name in the “Directory Name:” . Mostly this will be the rempte Git Repo. If you wish chnage the same. Else let it be the same.
3) Click on the “Test” Button to check GitHUb connectivity. If the connection is successful it will show the following window.
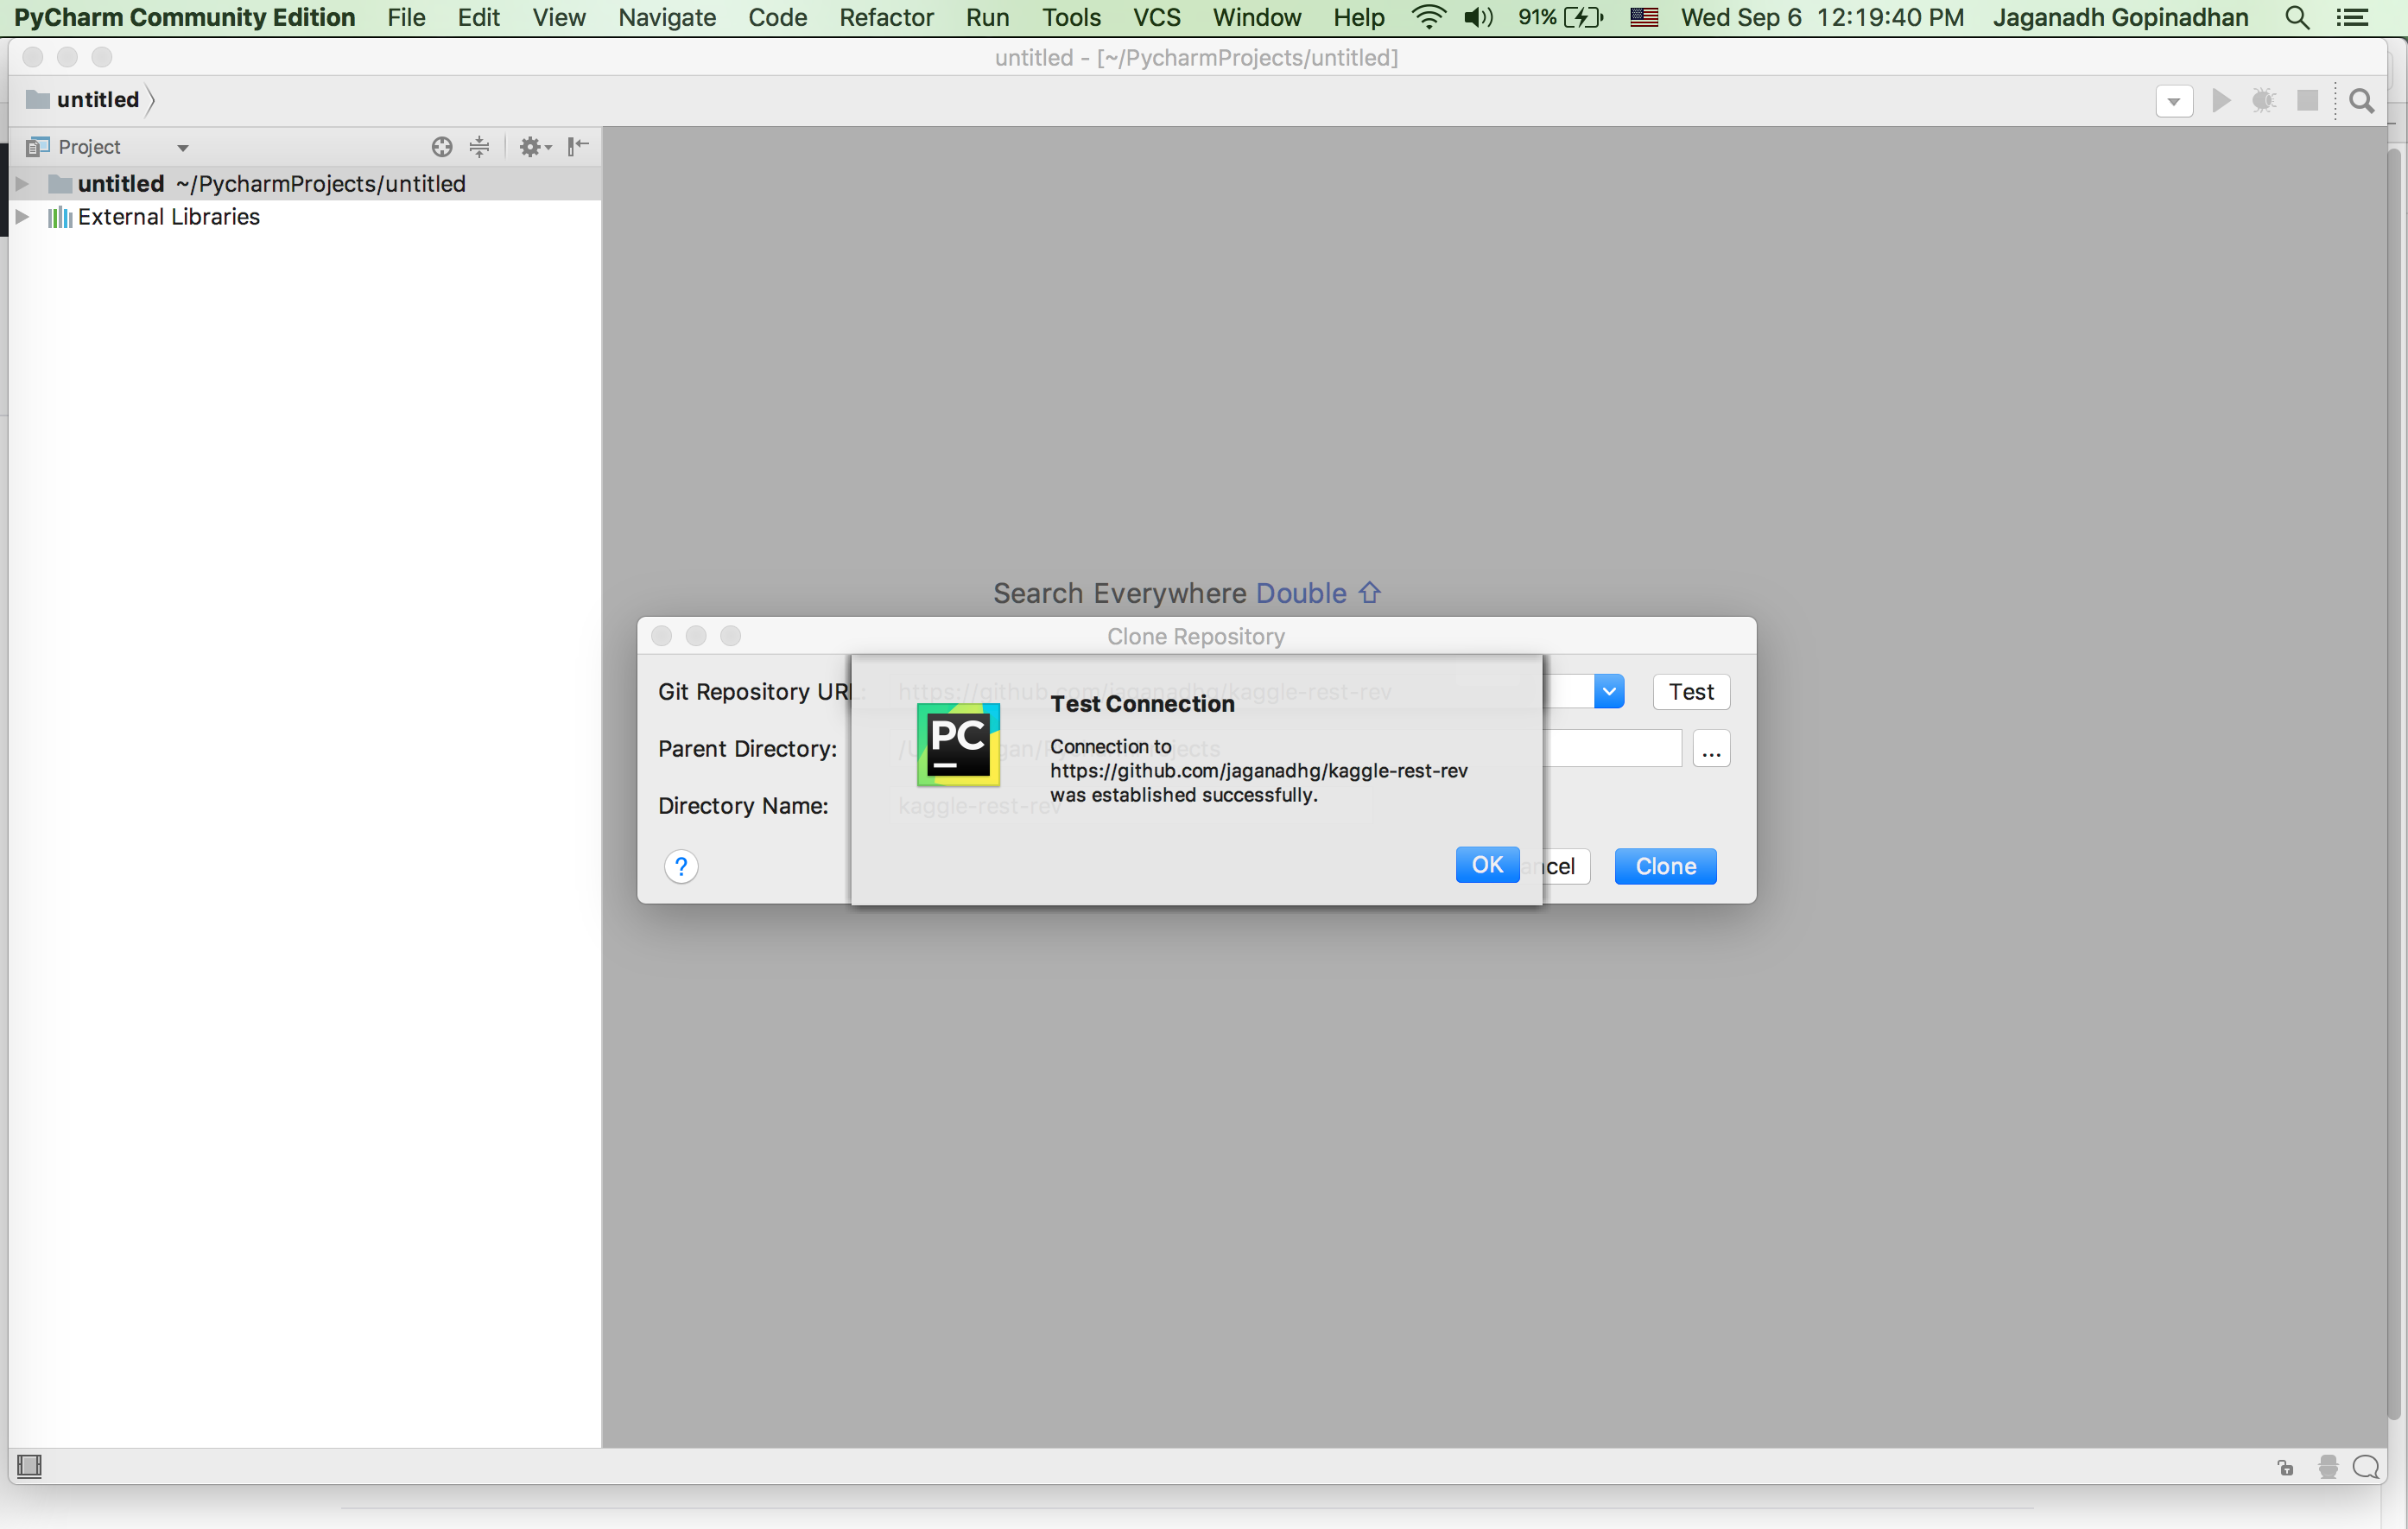
If there is error check the configurations for GitHub.
4) Click “Ok” and it will promt for confirmation. Click “Yes” on the new pop-up window.
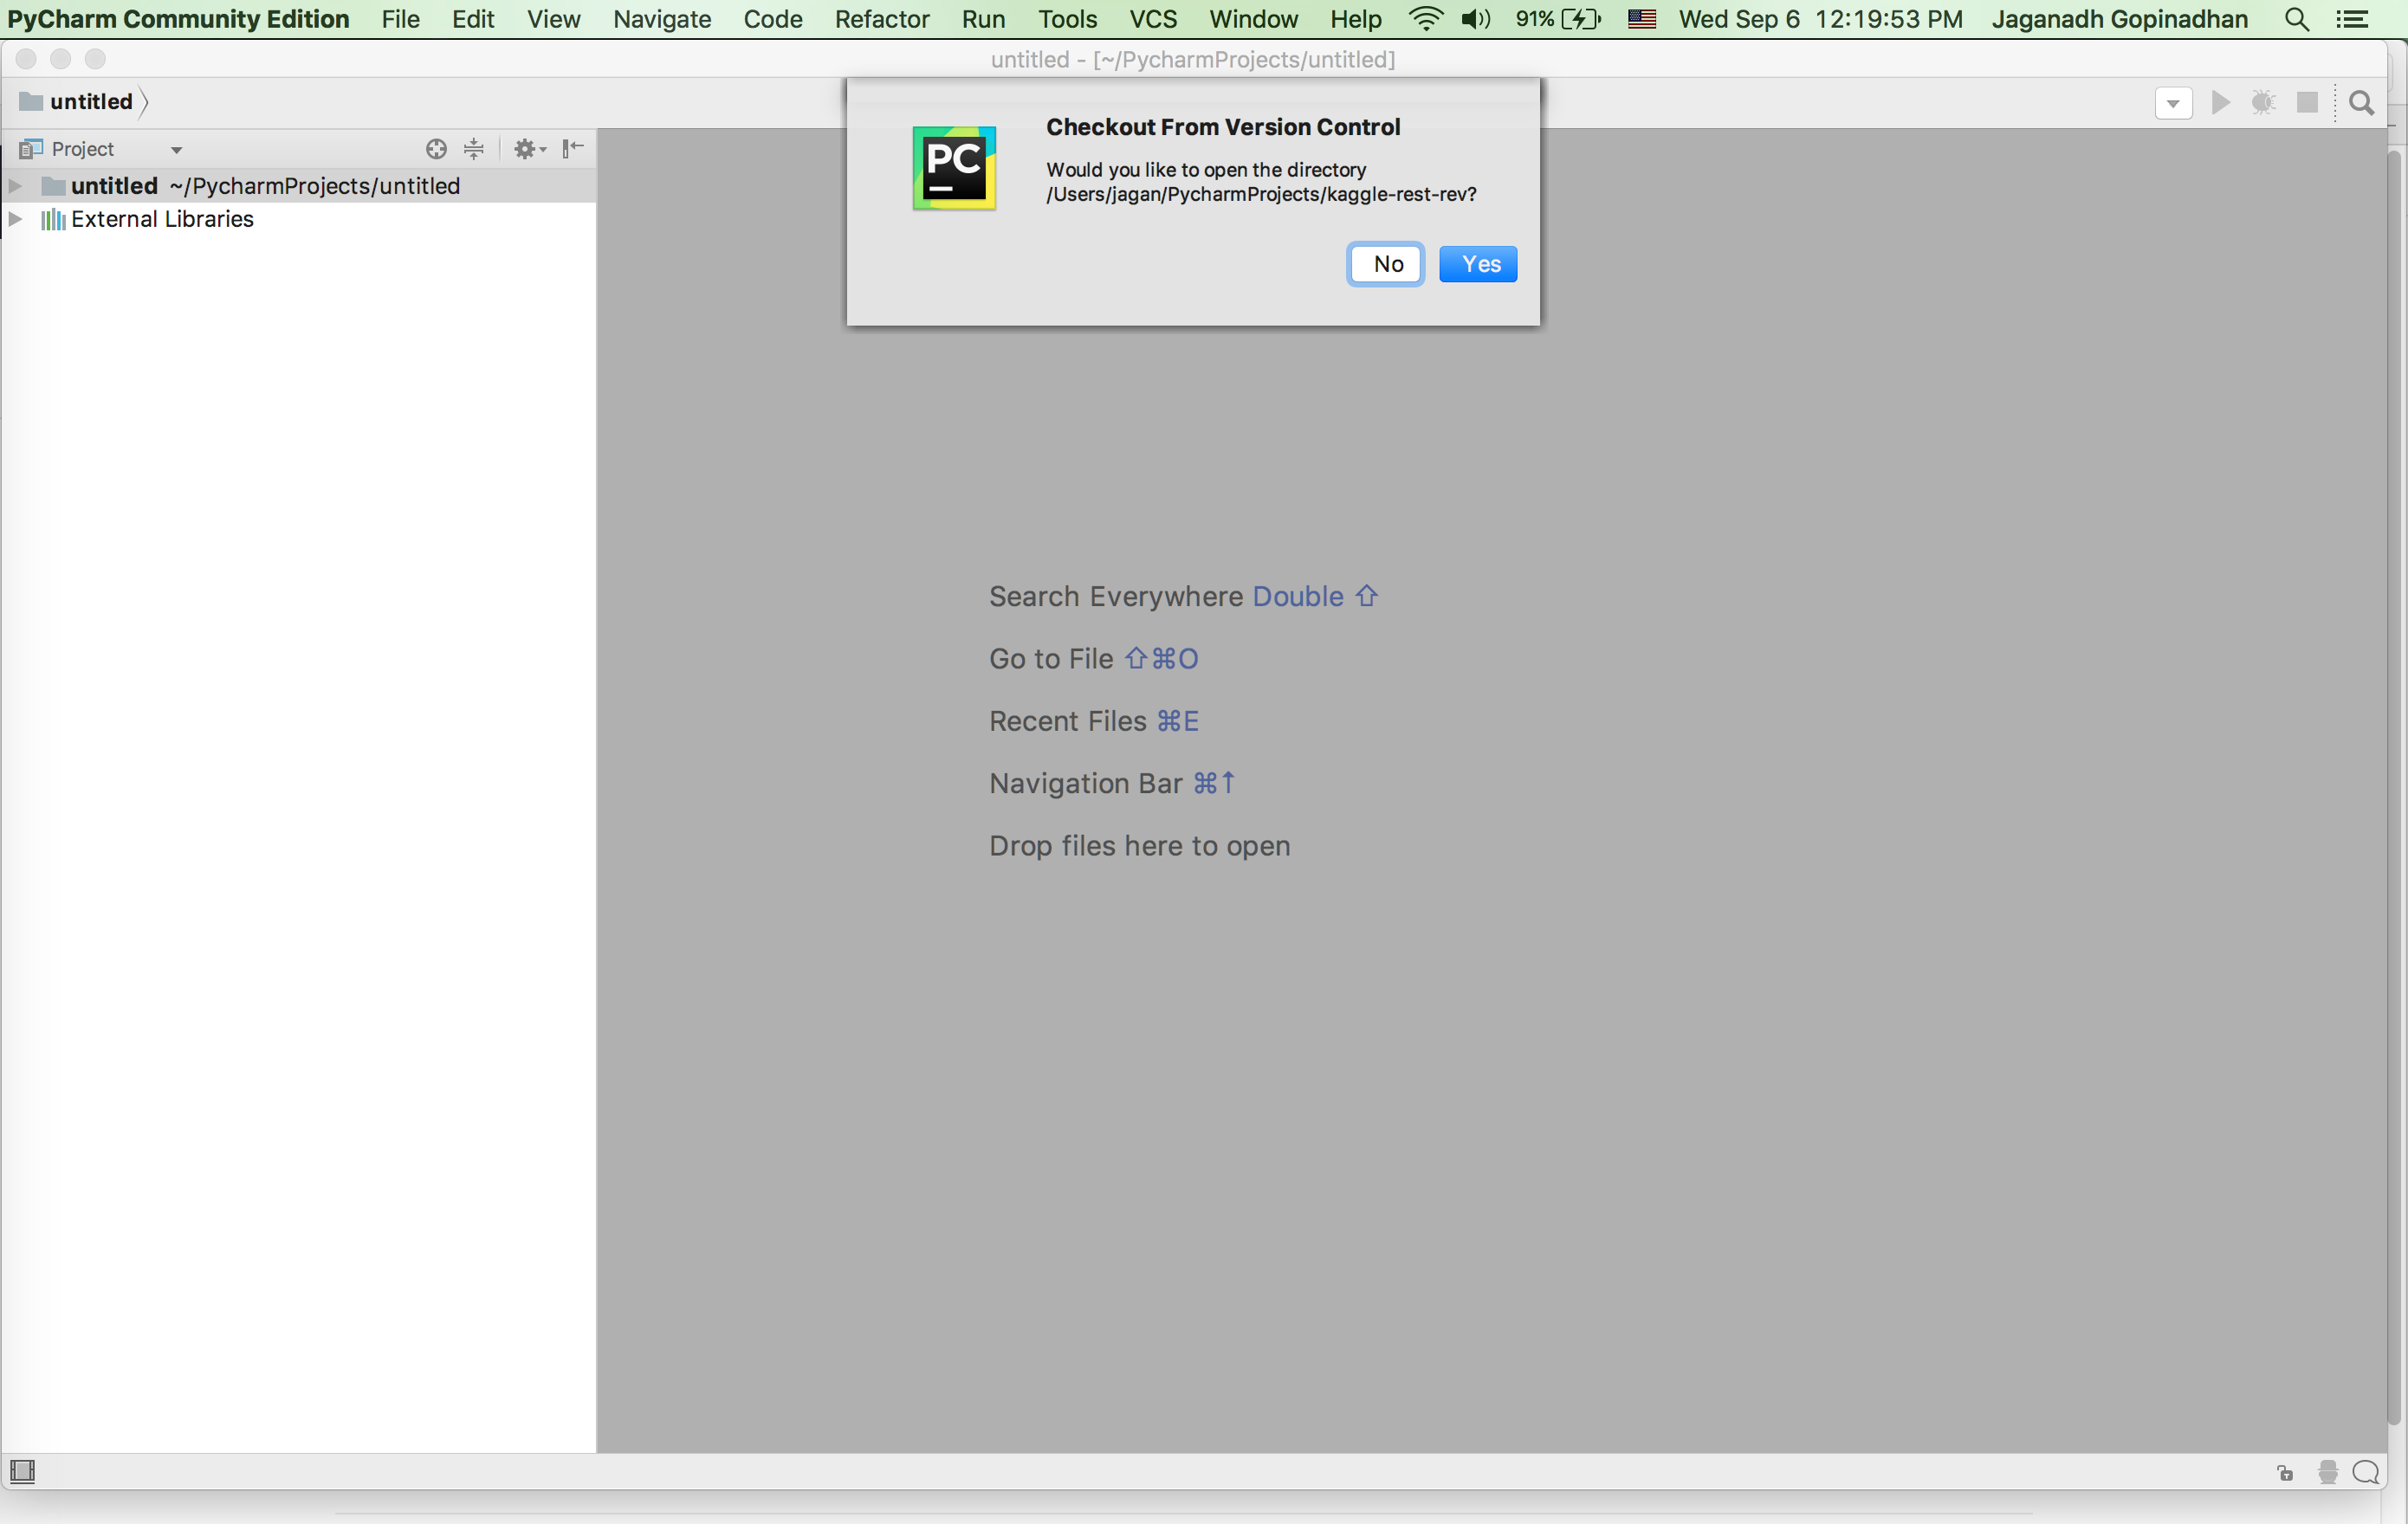
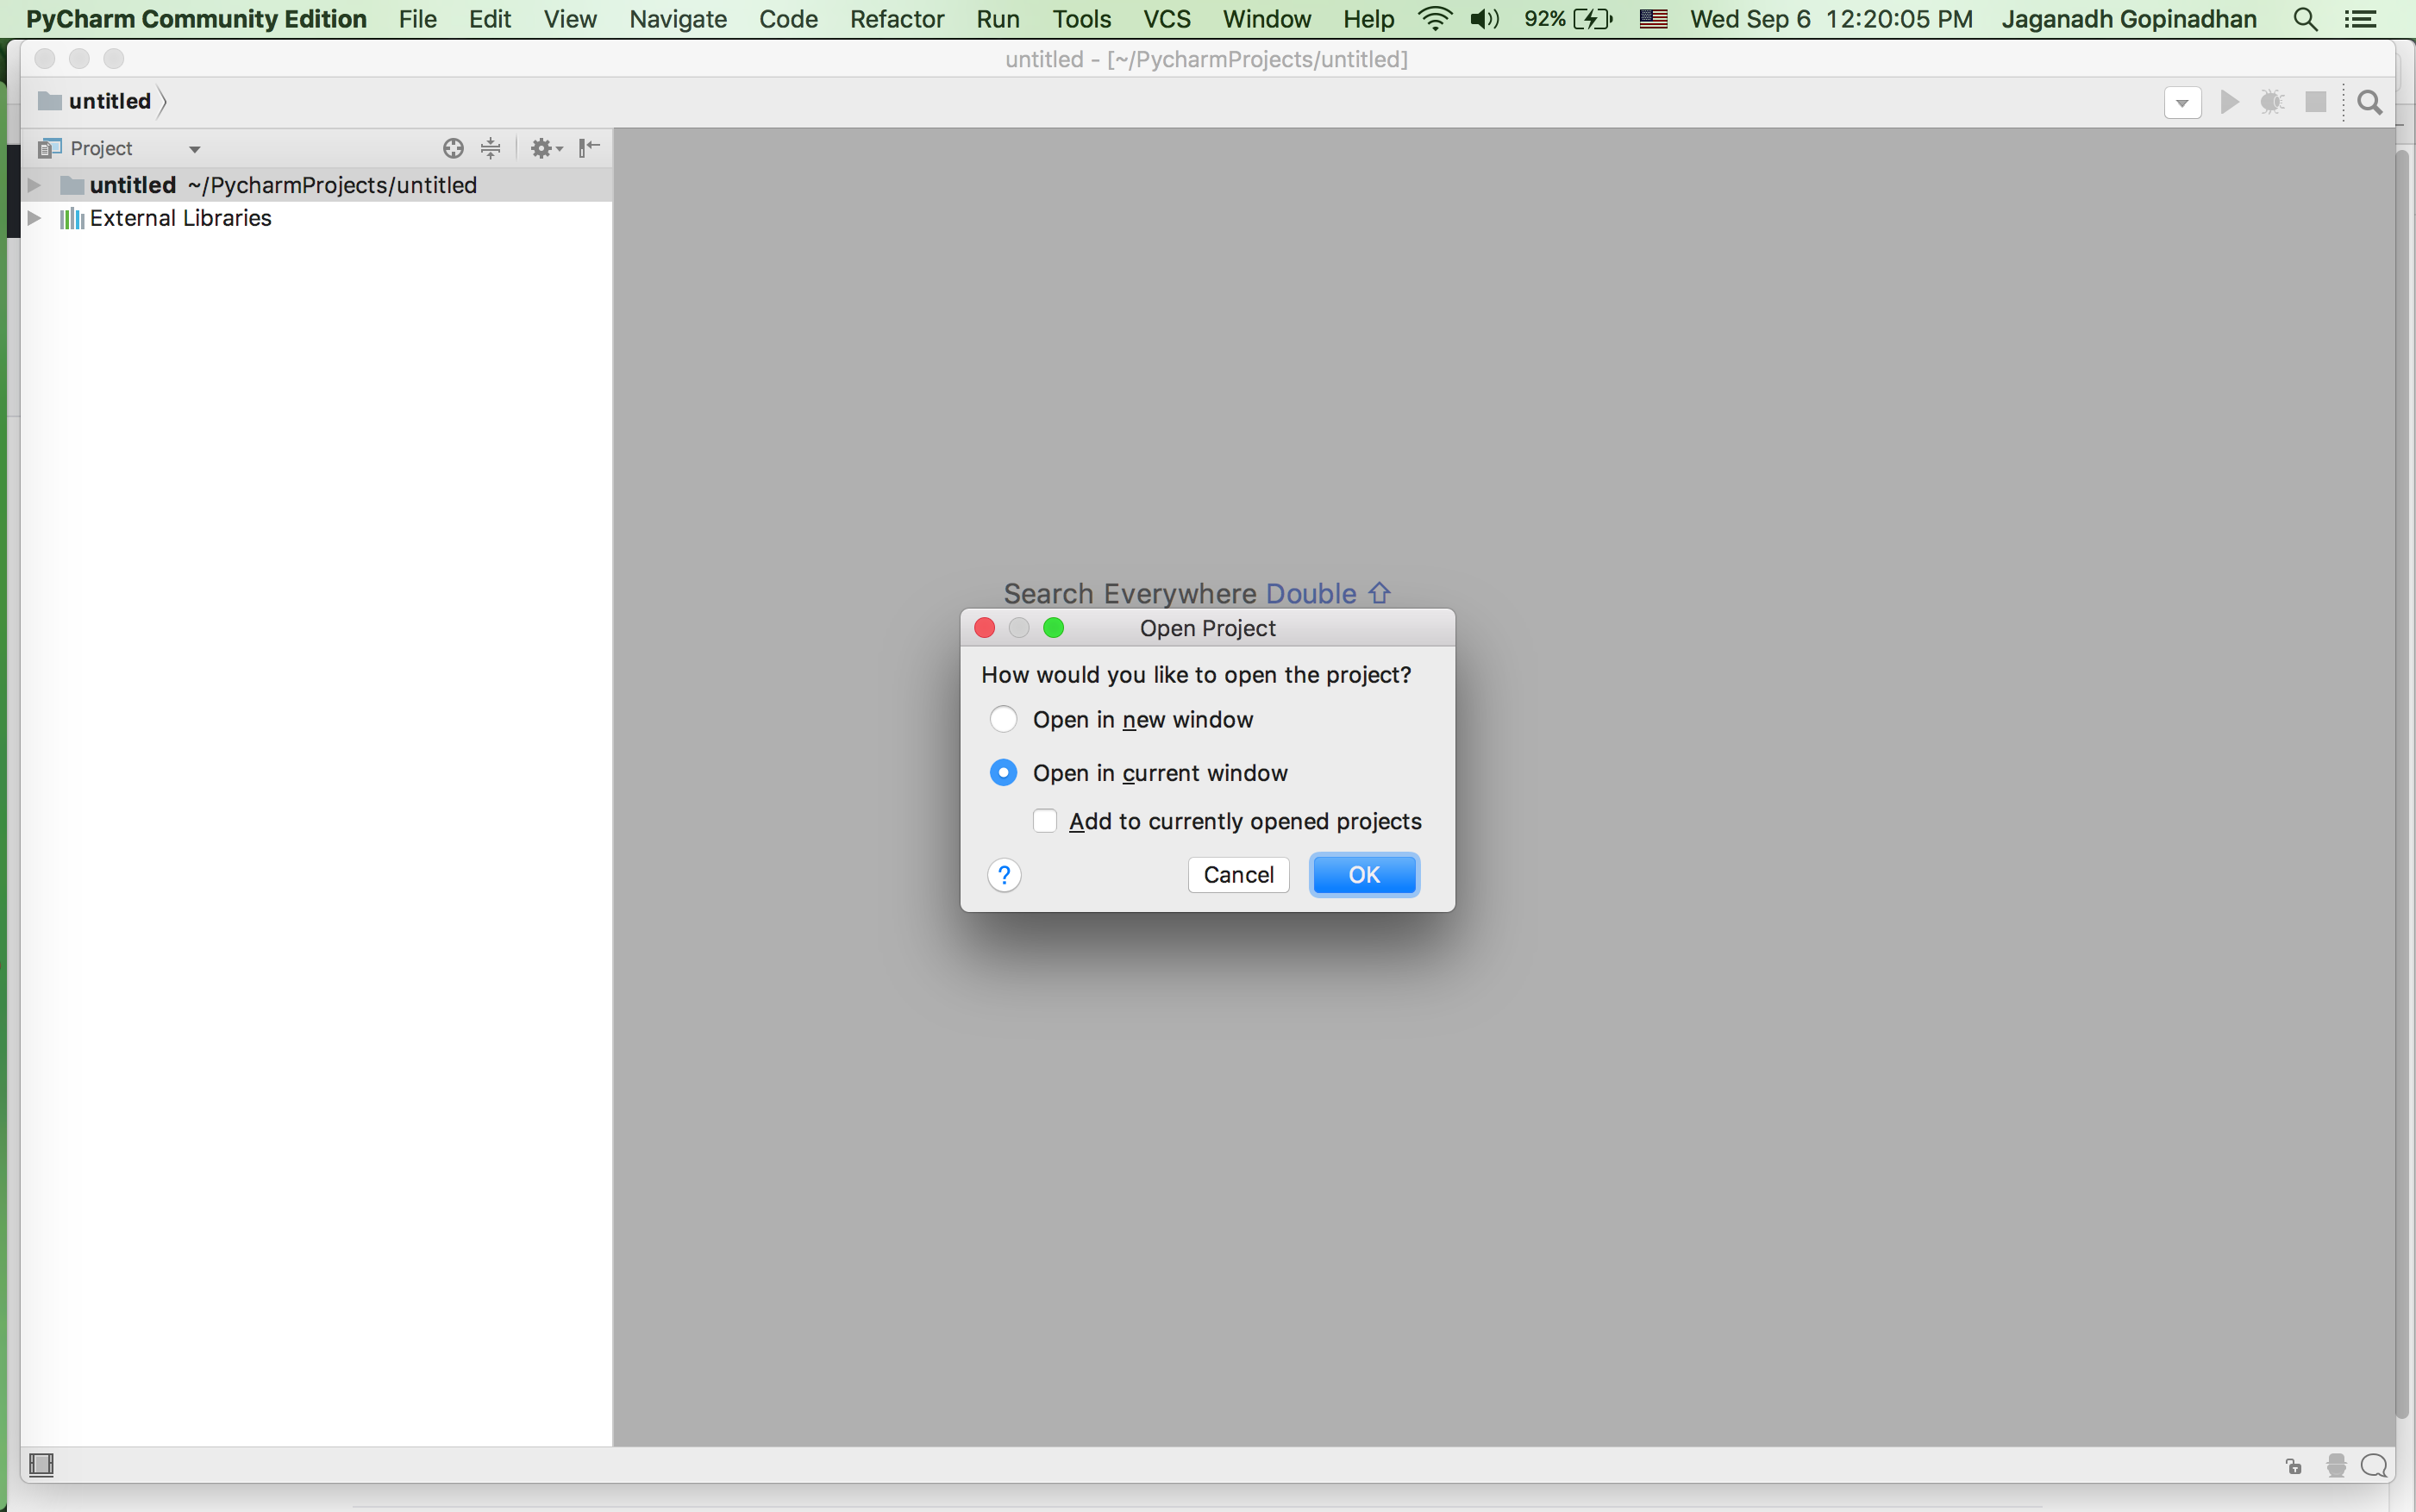
5) Once the ckeck-out is compleated it will ask for confirmation wheather to open in the same window or open a new window. Click on the same window opetion and “Ok” button.
6) Now add a new file

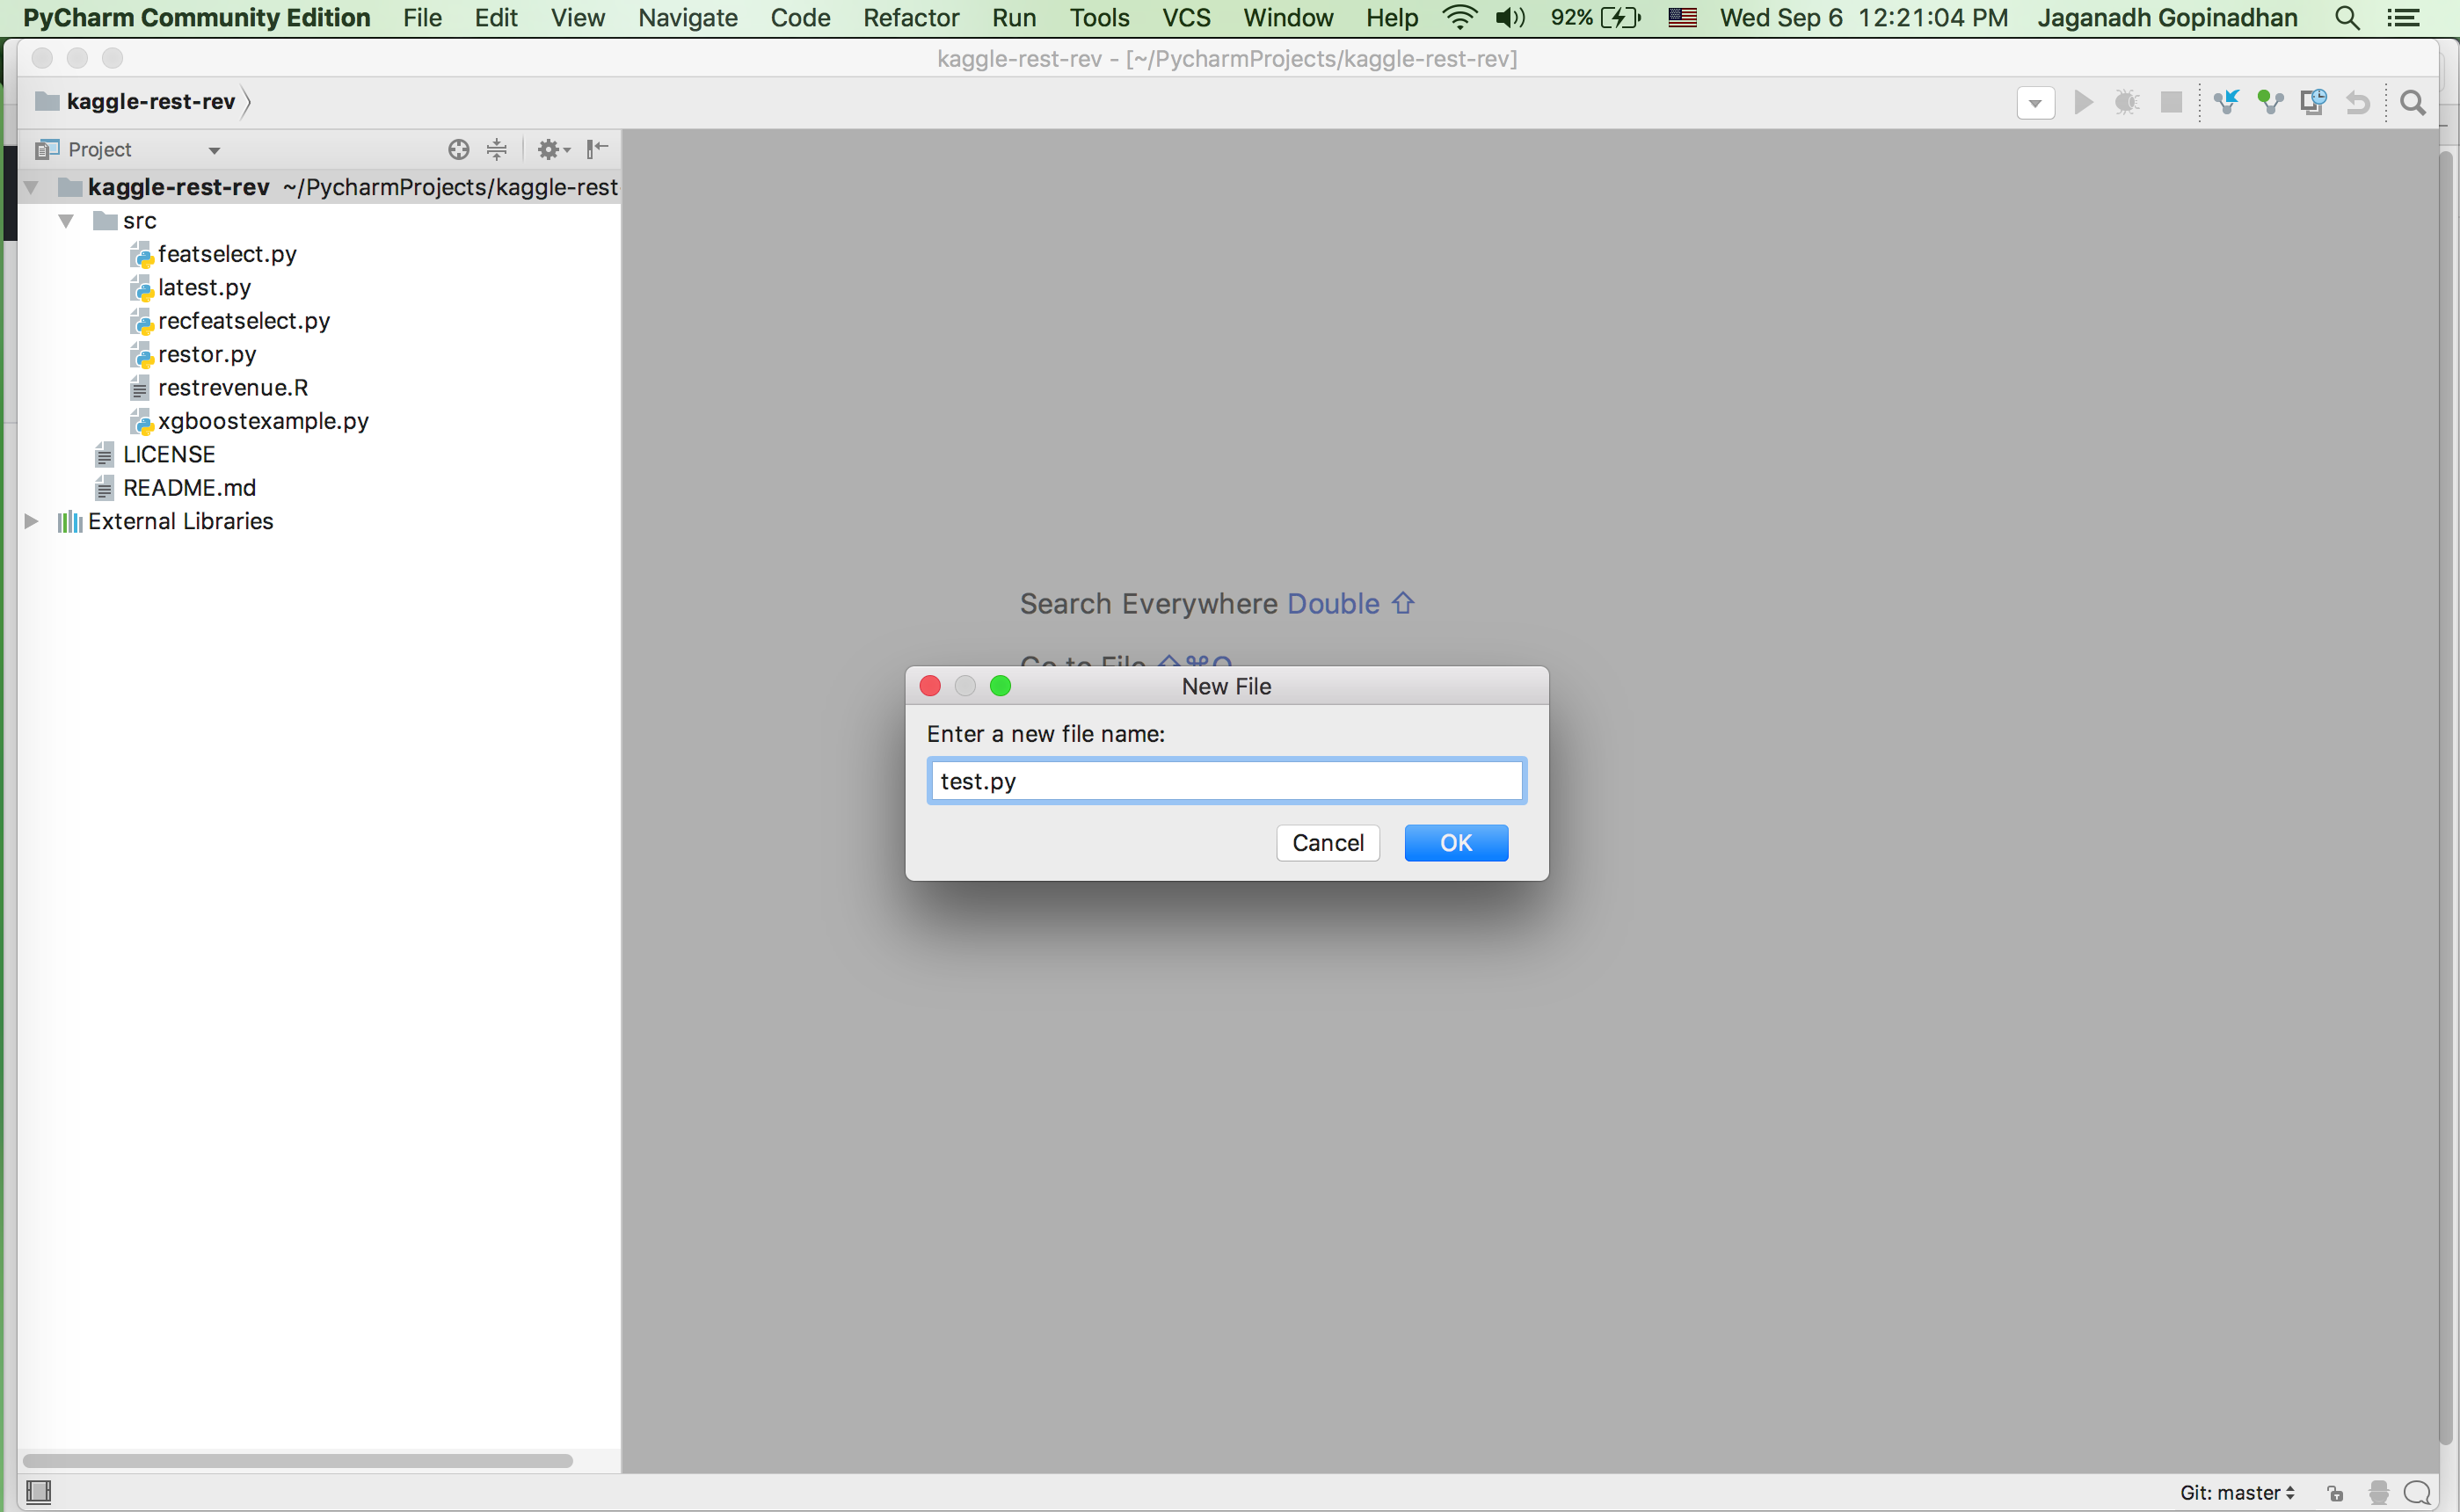
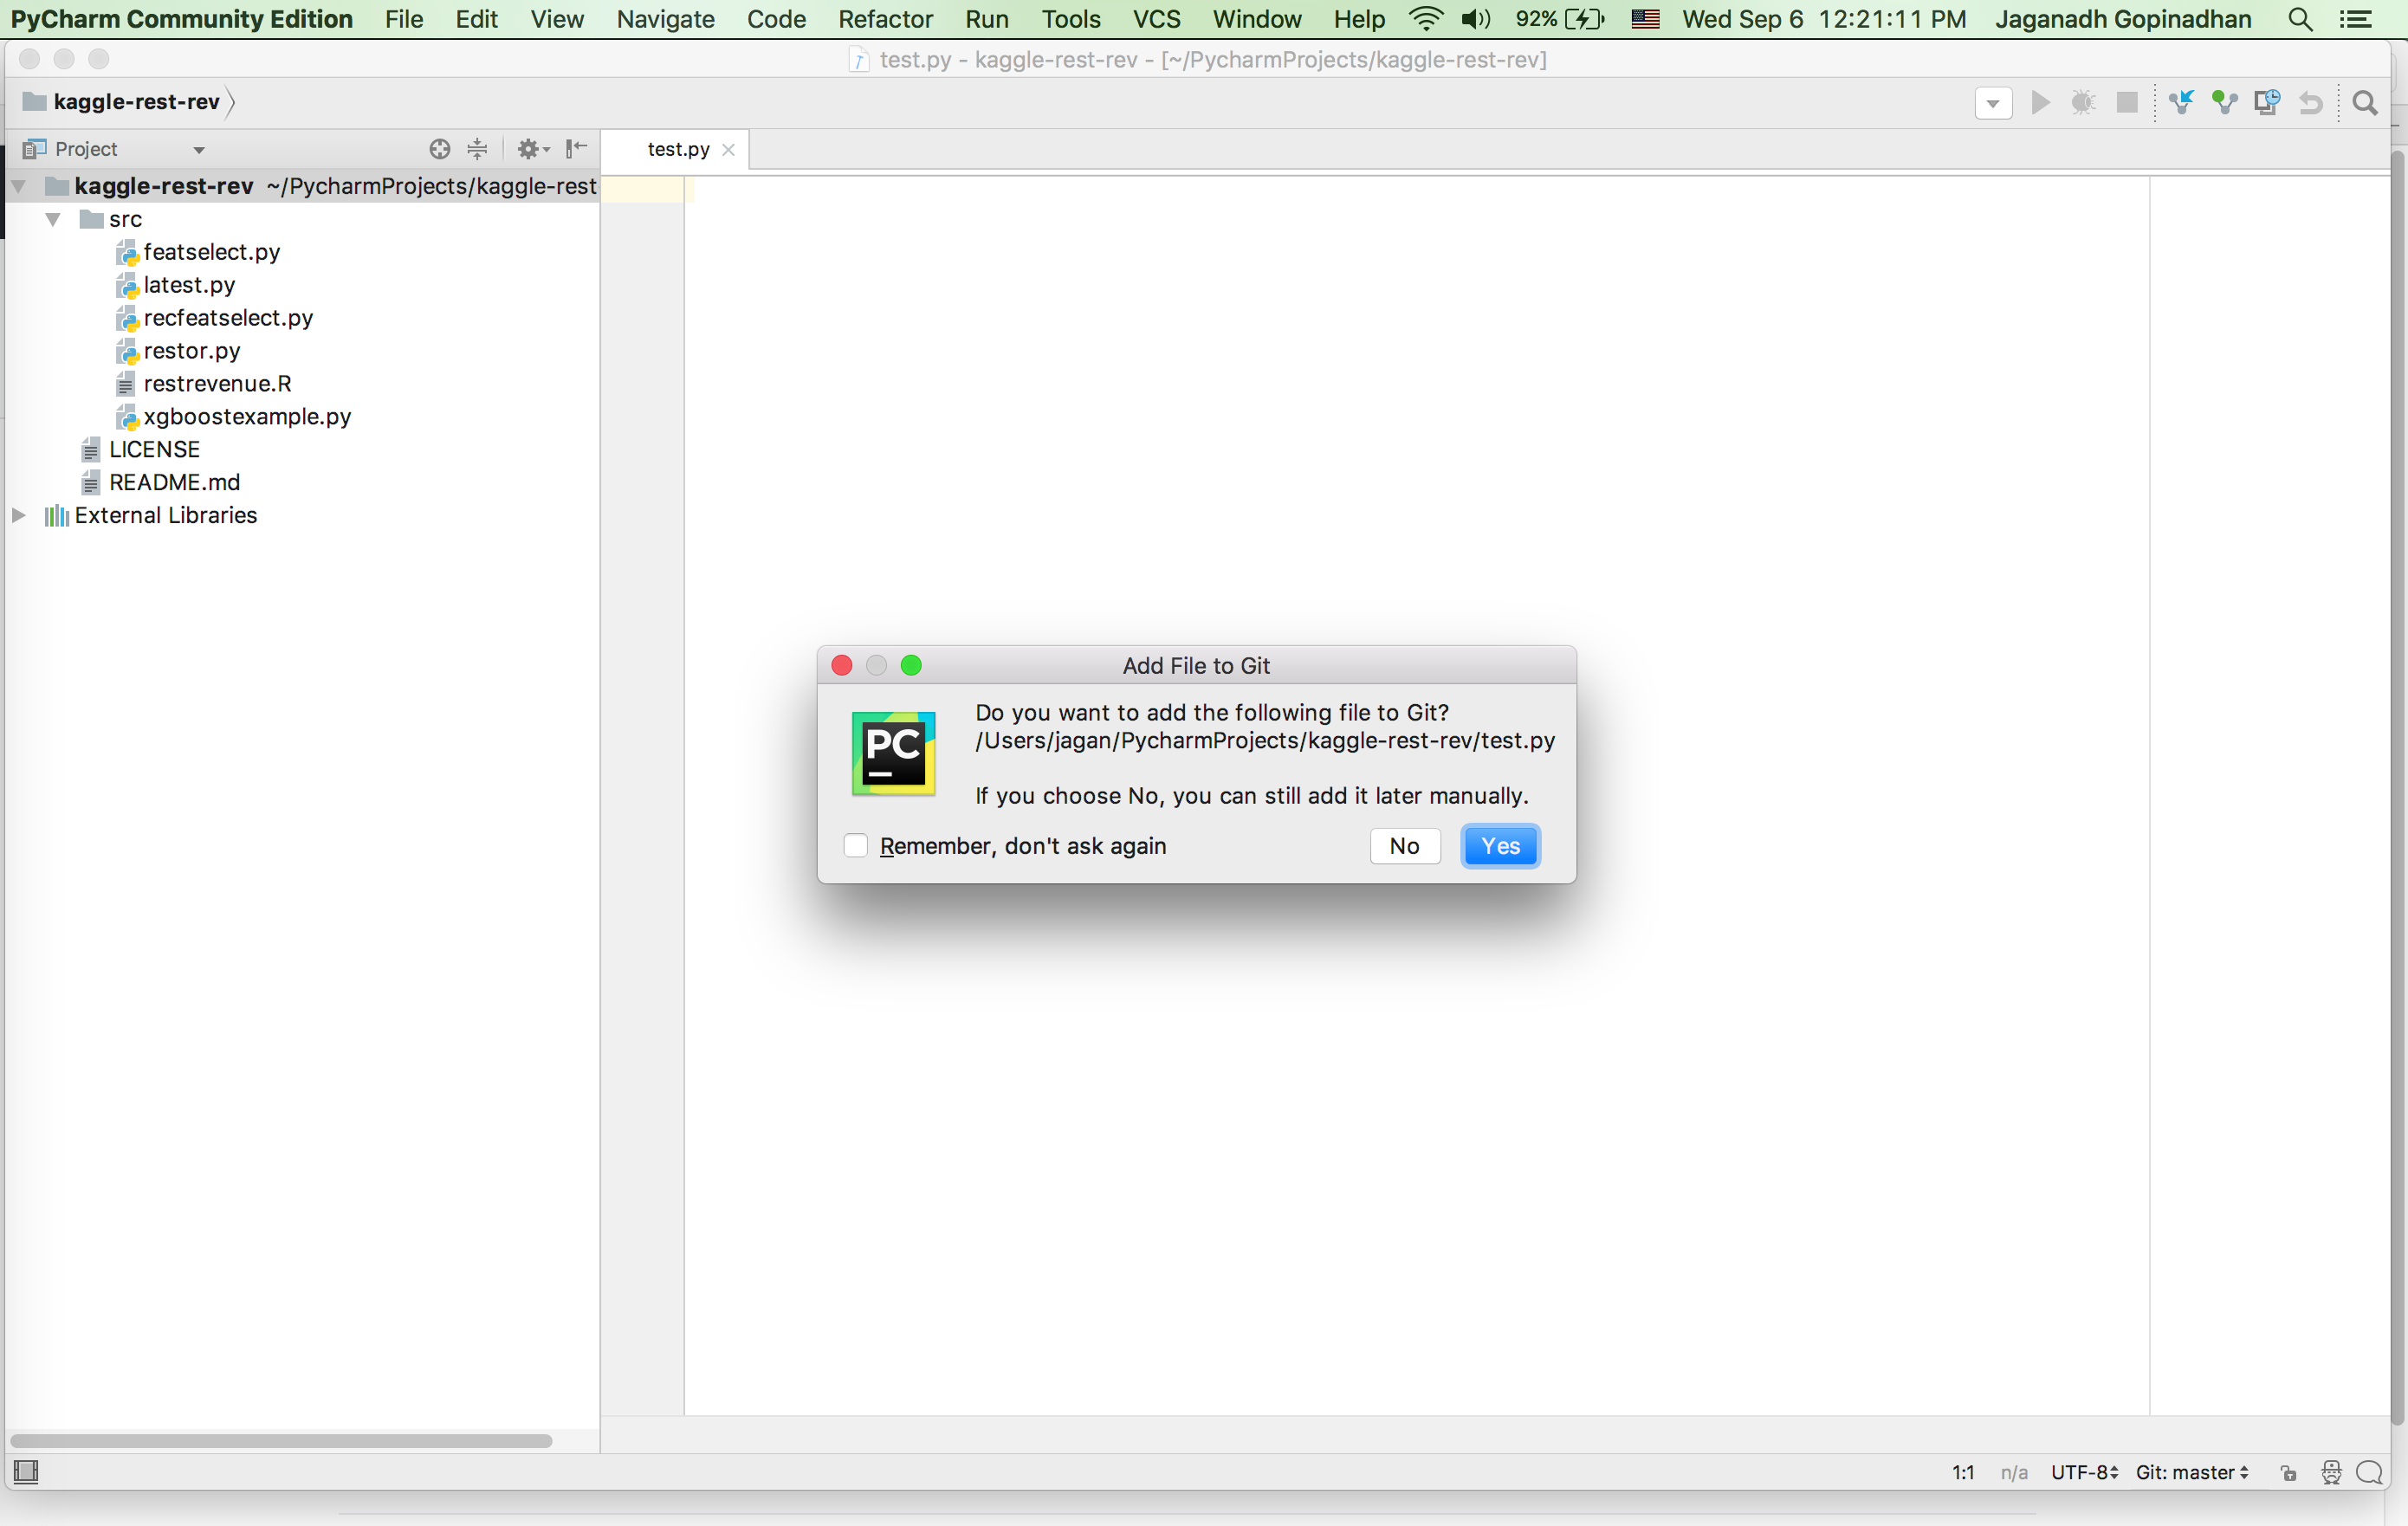
Once you create the file it will ask wheather the file has to be added to version controll. Click “Ok”.
7) Now add some content to the new file. Go to “VCS” –> “Commit”
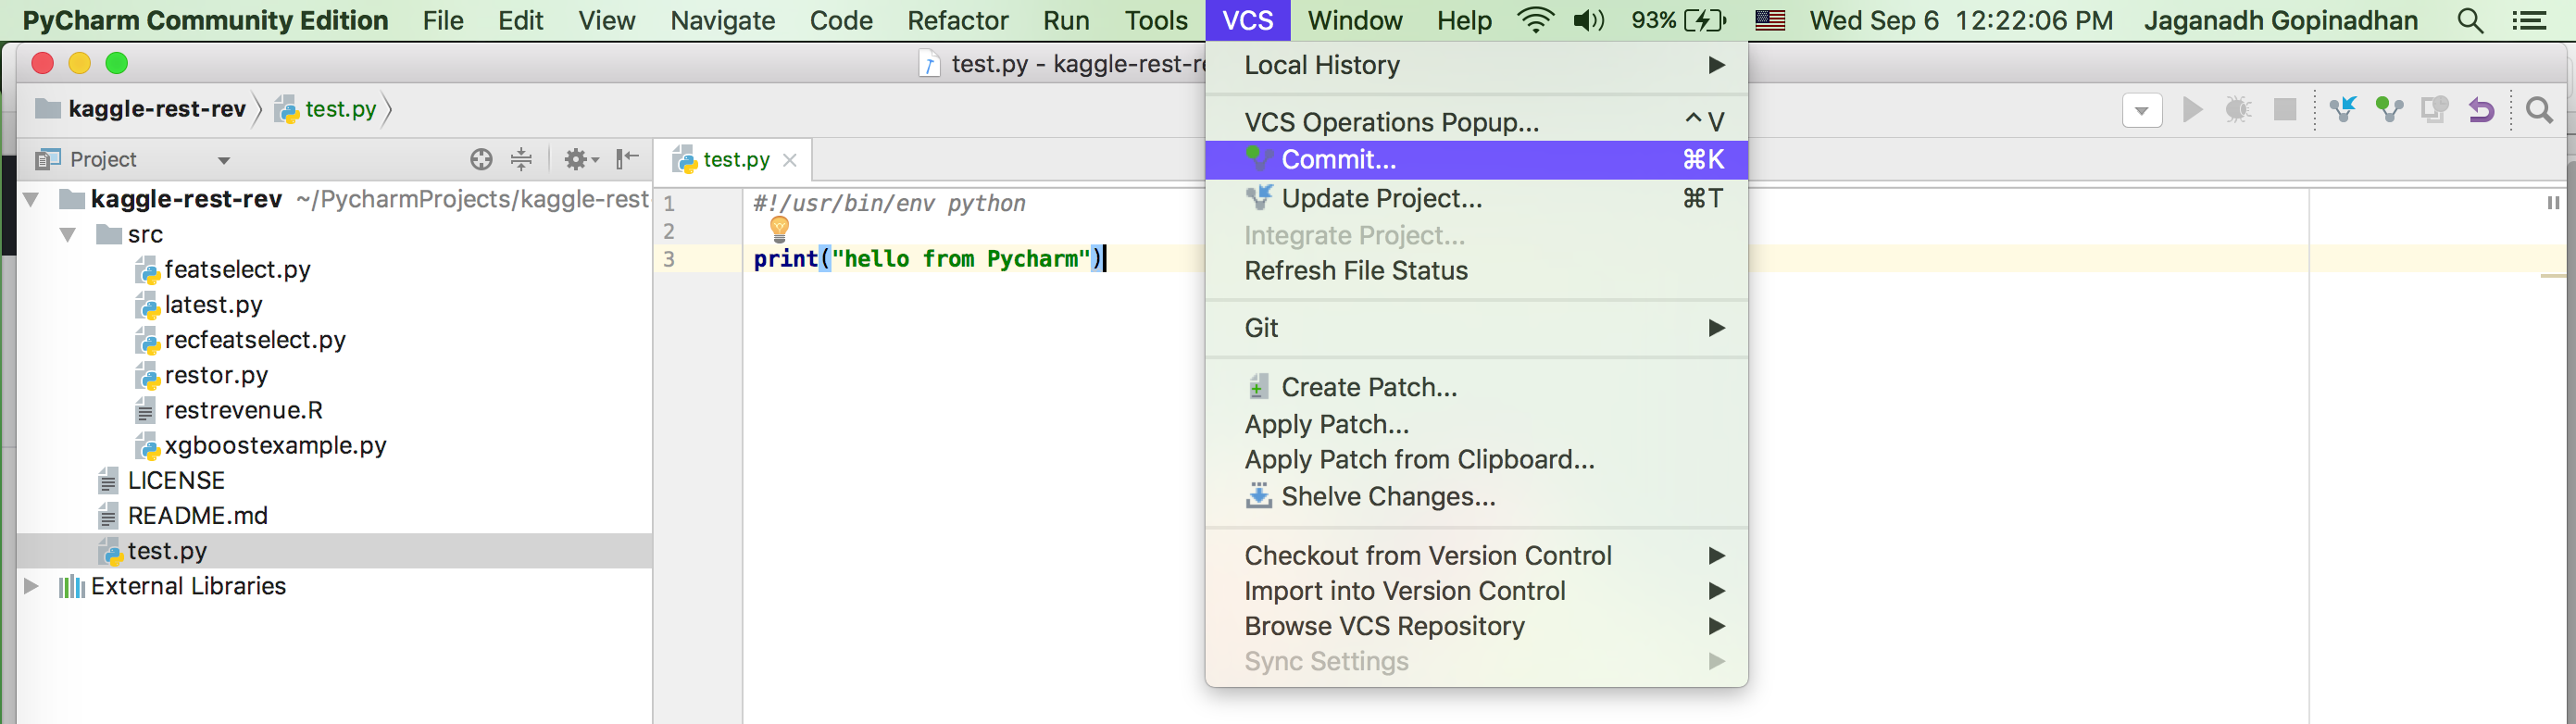
8) It will open a new pop-up . Add a commit message in Commit message box. Click on the Commit button
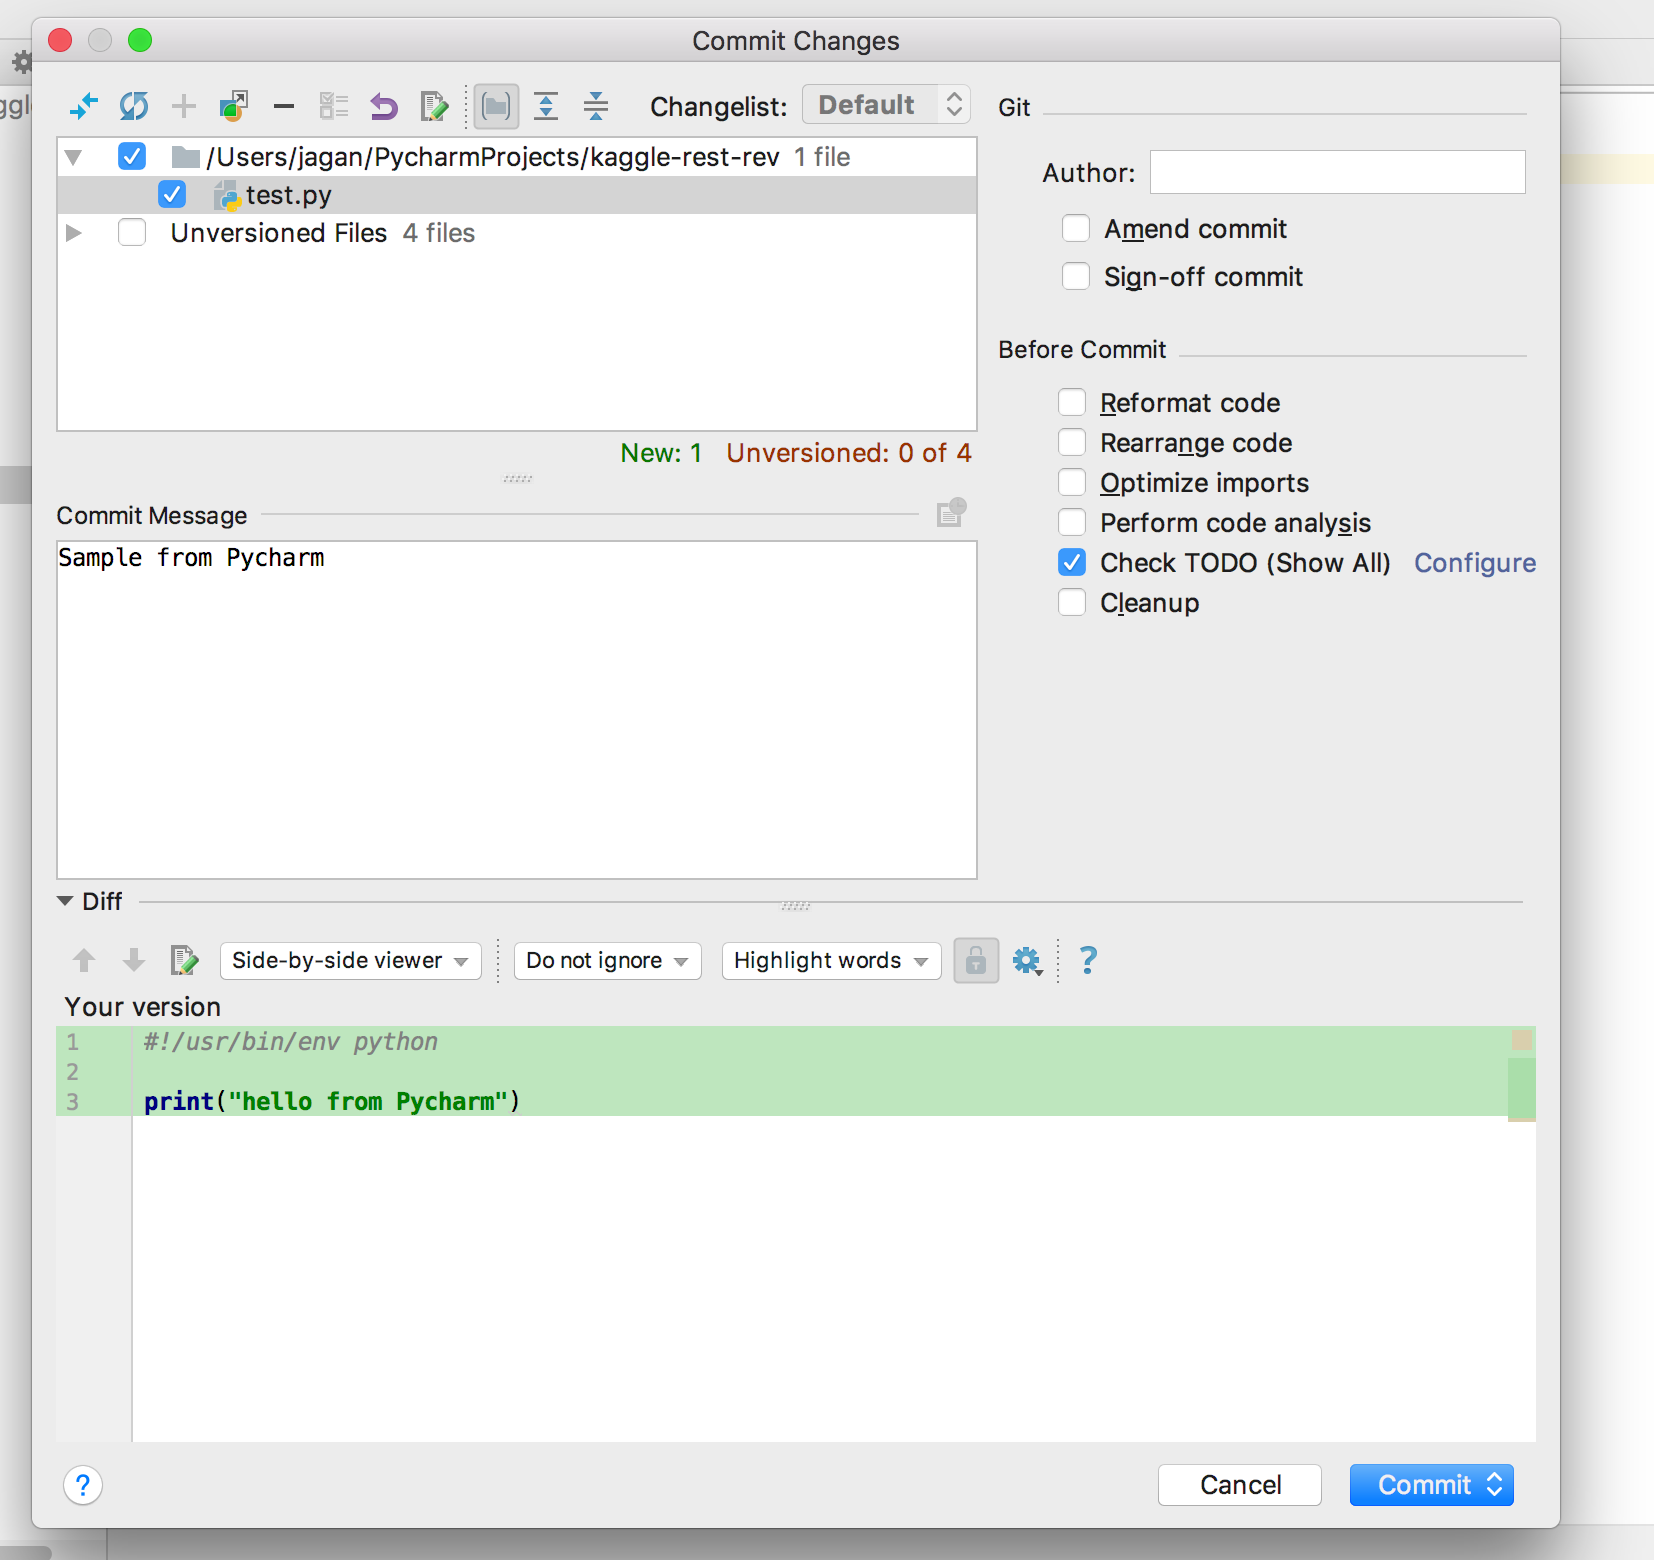
Once the commit is done a small green pop-up will apper in the bottom of PyCharm.
9) Now we have to push it to master. Rightclick on the modified file . Go to “Git” –> Repository –> click “Push”

It will open a new window. Click “Push”
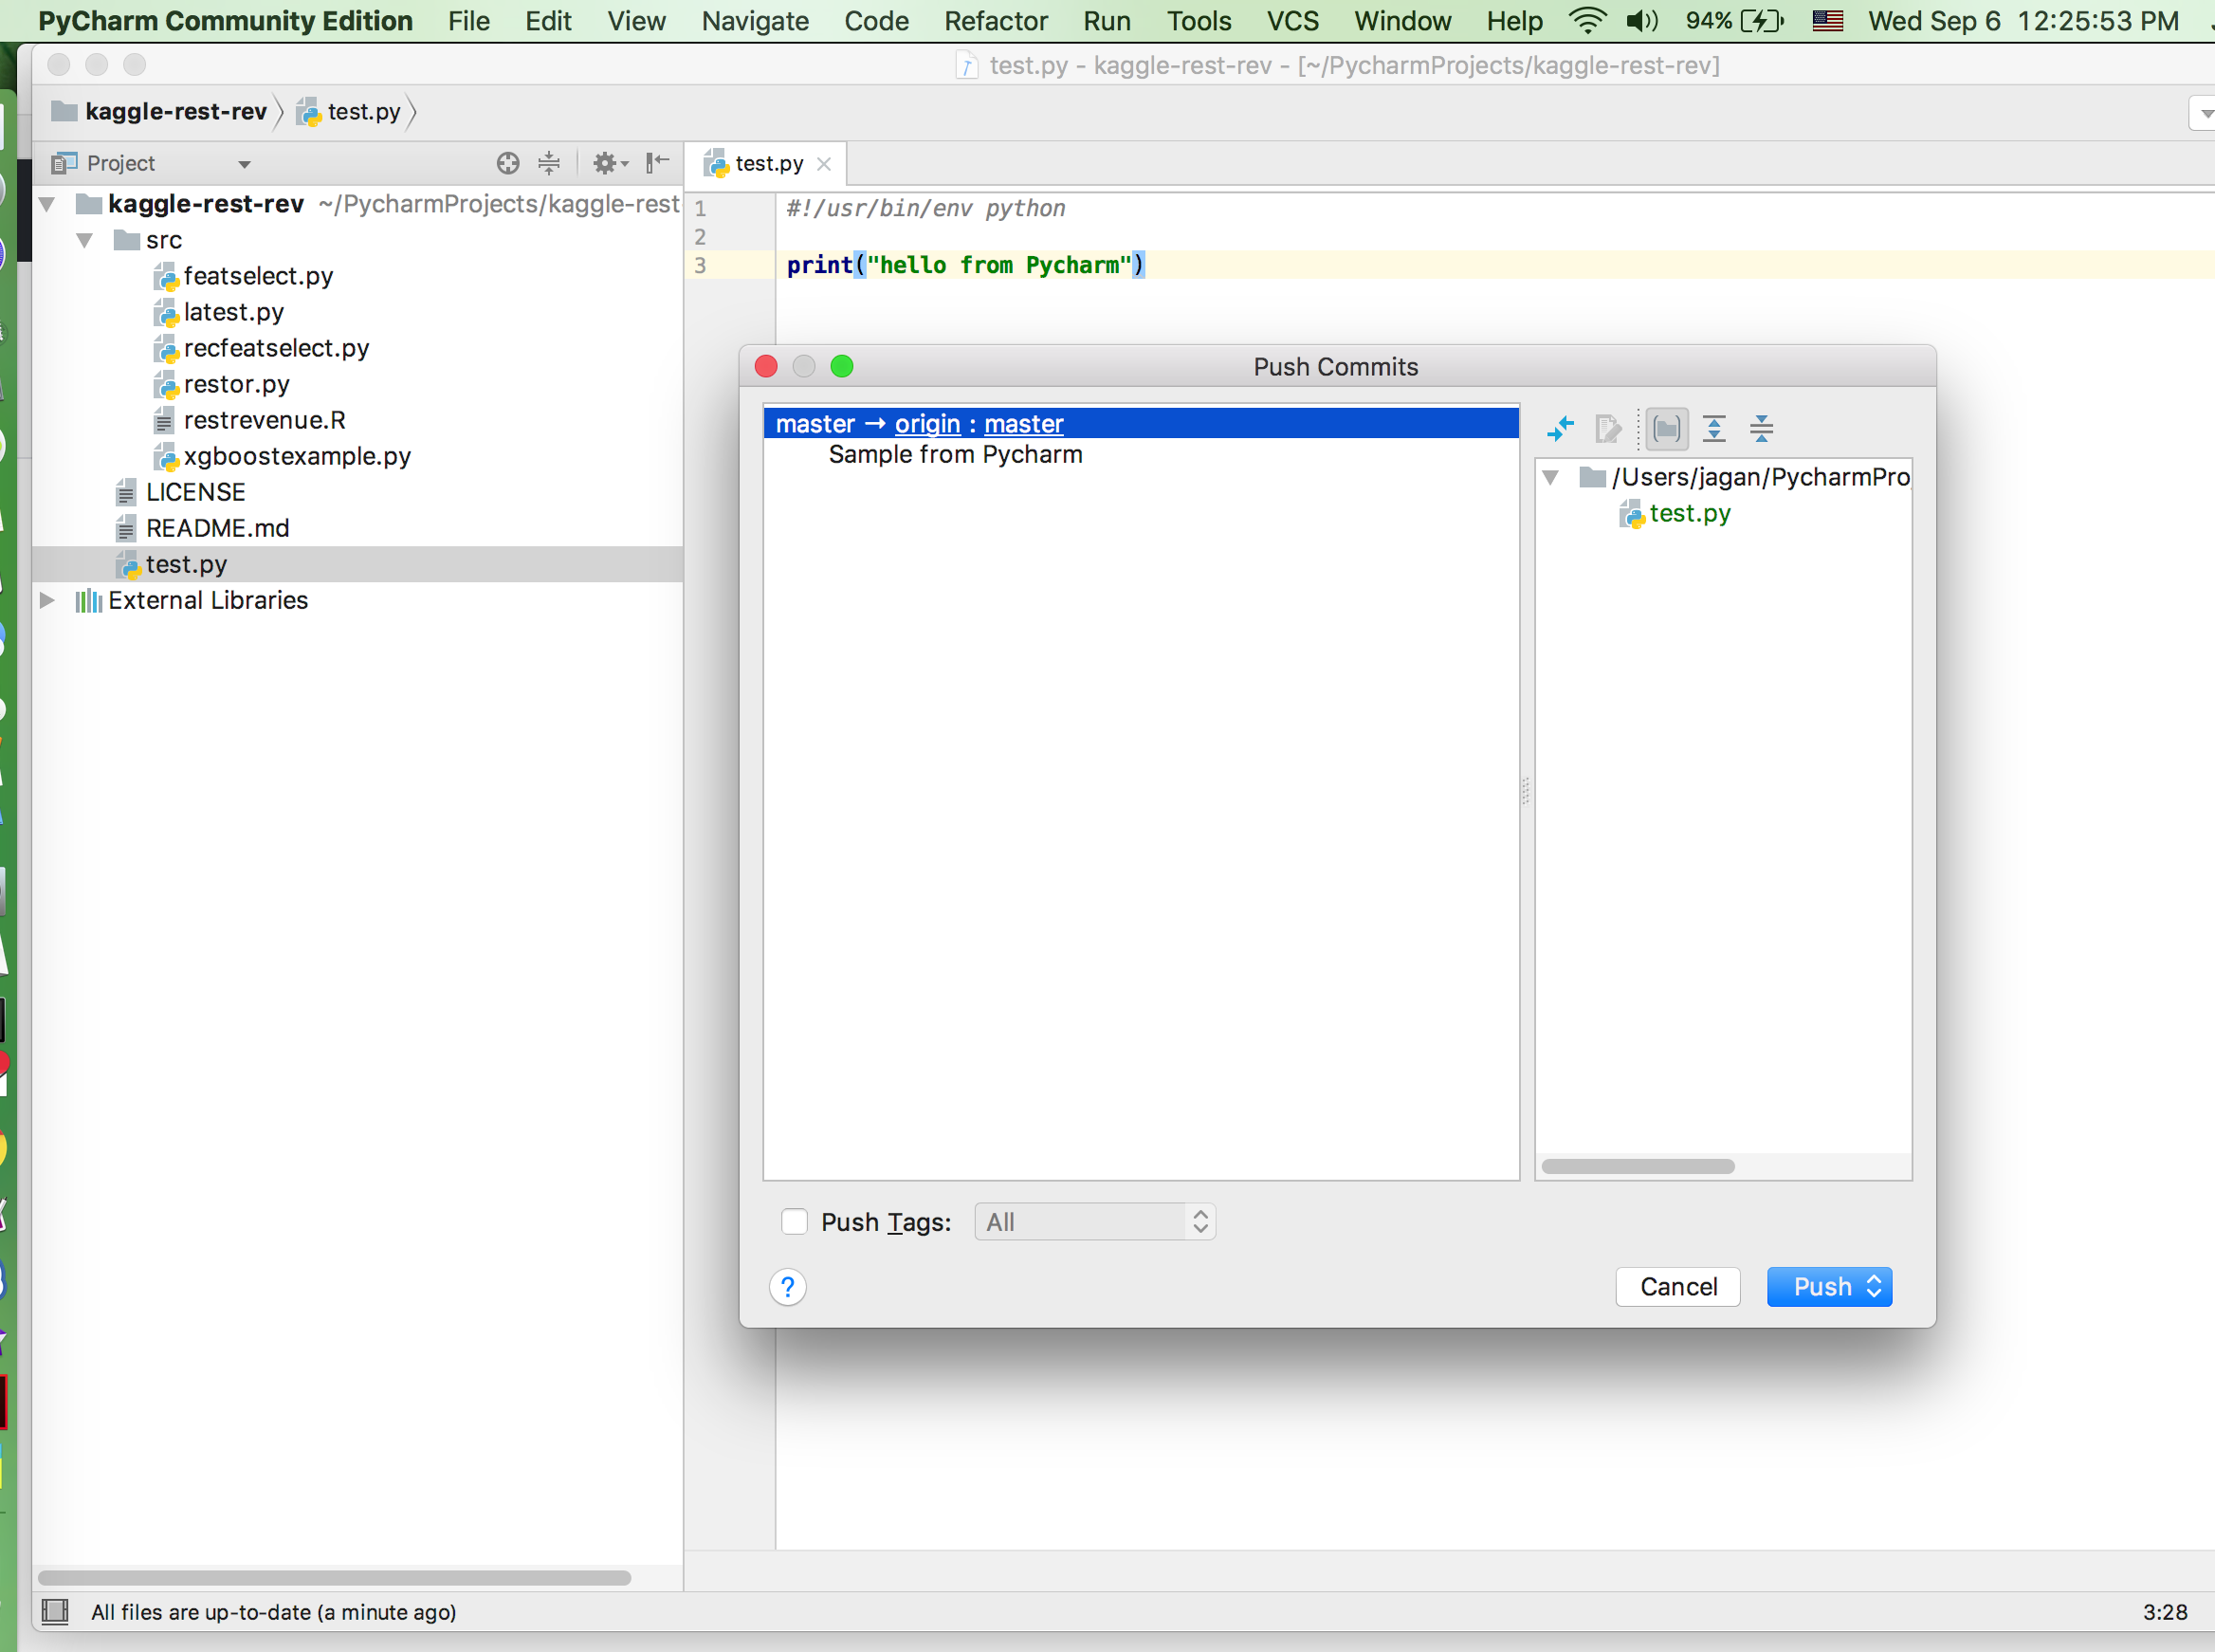
If everything is fine a green pop-up will appear on the bottom.
Now the chnages will be available in the master branch.
Python PyCharm